Gardening is a rewarding hobby, but it often comes with challenges like inconsistent watering, busy schedules, and over- or under-watering. This is where self-watering pots come to the rescue. These innovative containers make plant care simpler, reduce water wastage, and promote healthy root growth, ensuring your plants thrive even when your schedule is hectic.
In this comprehensive guide, we will explore everything about self-watering pots—how they work, benefits, choosing the right plants, step-by-step setup, maintenance, and tips to maximize plant growth. By the end, you’ll be ready to transform your home garden with minimal effort and maximum results.
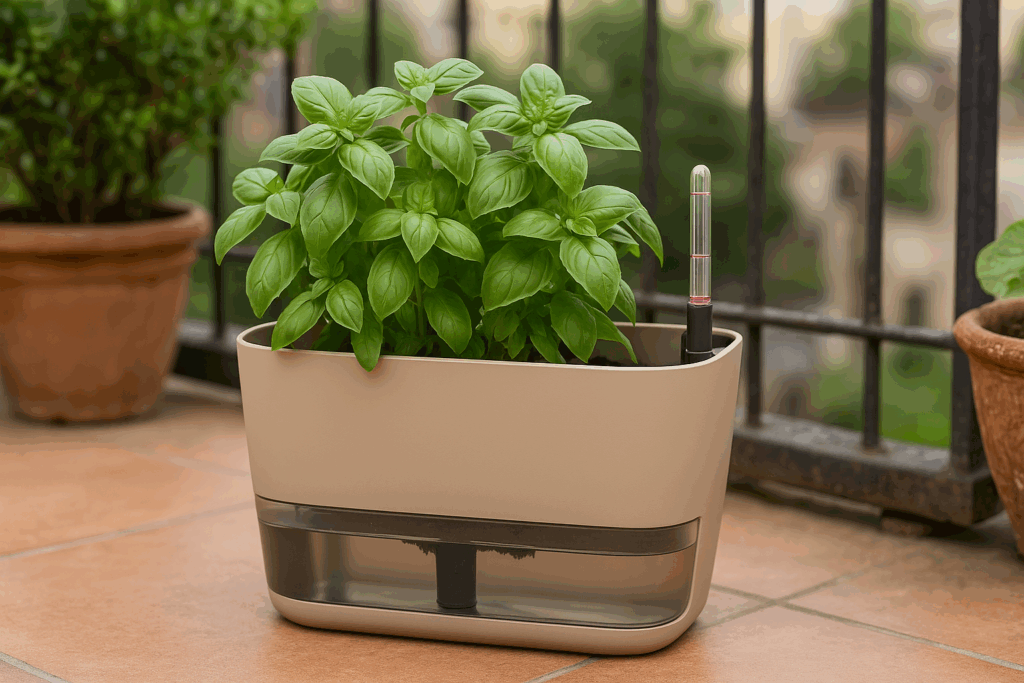
What Is a Self-Watering Pot?
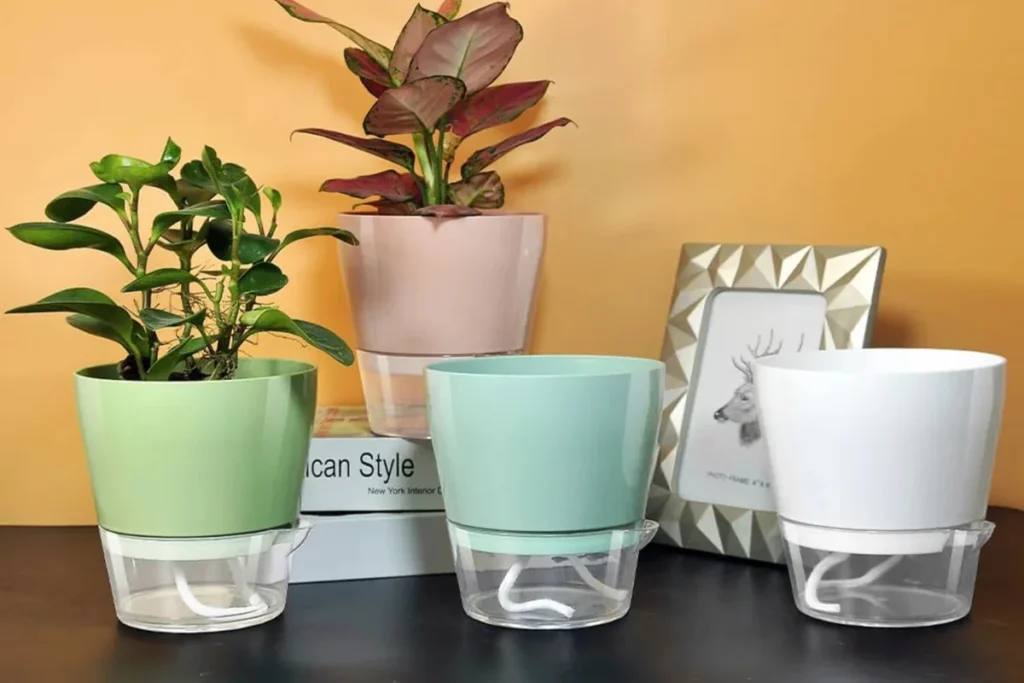
A self-watering pot is a container designed with a reservoir system that allows plants to draw water as needed. Unlike traditional pots, which require frequent watering, self-watering pots maintain consistent soil moisture by using capillary action or wicking mechanisms.
Key Features
- Water reservoir: Holds water at the base of the pot.
- Wicking system: Draws water from the reservoir into the soil gradually.
- Overflow hole: Prevents overfilling and root rot.
- Soil separation: Keeps roots above water while still allowing moisture absorption.
How It Works
When the soil dries, the plant’s roots pull water from the reservoir through a wick or porous barrier. This ensures that the plant receives consistent moisture without drowning or drying out.
Benefits of Using Self-Watering Pots
✔ Consistent Moisture
Maintains optimal soil hydration, preventing stress caused by irregular watering.
✔ Water Efficiency
Uses less water than conventional watering since water goes directly to the roots.
✔ Less Maintenance
Ideal for busy gardeners or those traveling; a reservoir can last several days or weeks depending on plant type.
✔ Healthier Roots
Encourages deeper root growth as roots reach down for water, promoting strong, resilient plants.
✔ Reduced Risk of Disease
Keeps foliage dry, minimizing fungal infections and rot caused by excess water on leaves.
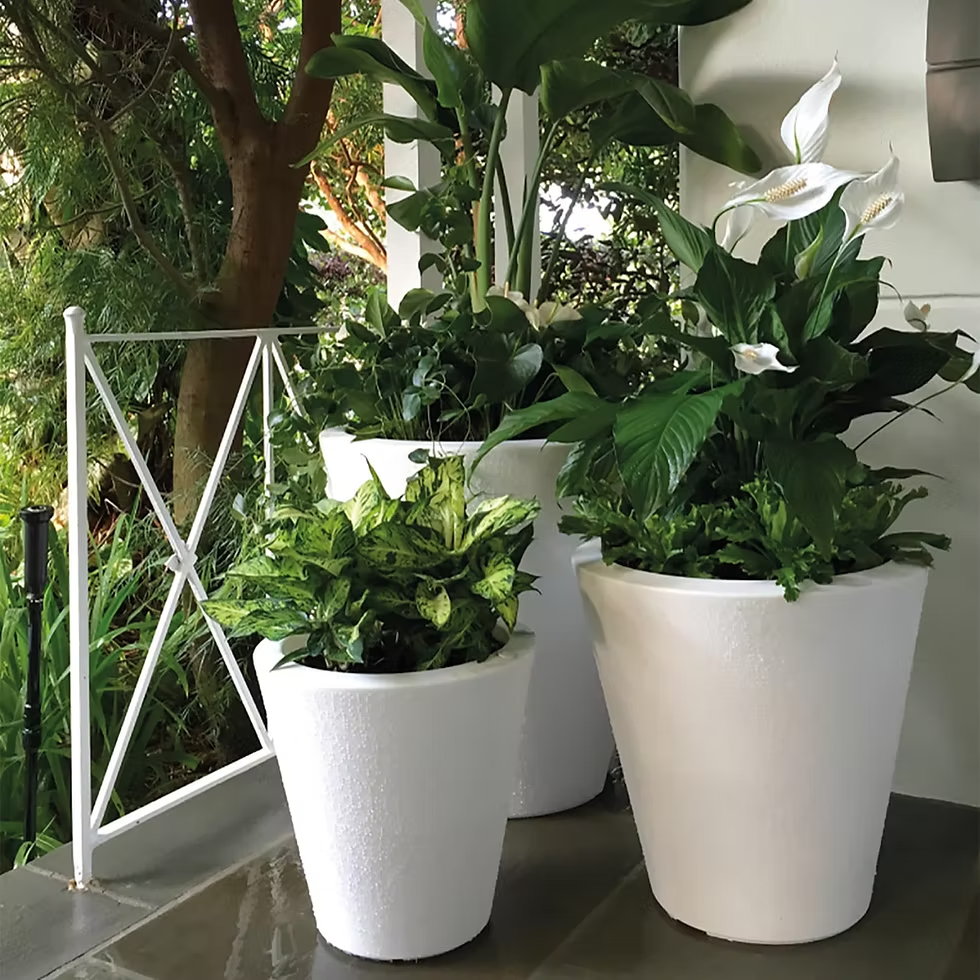
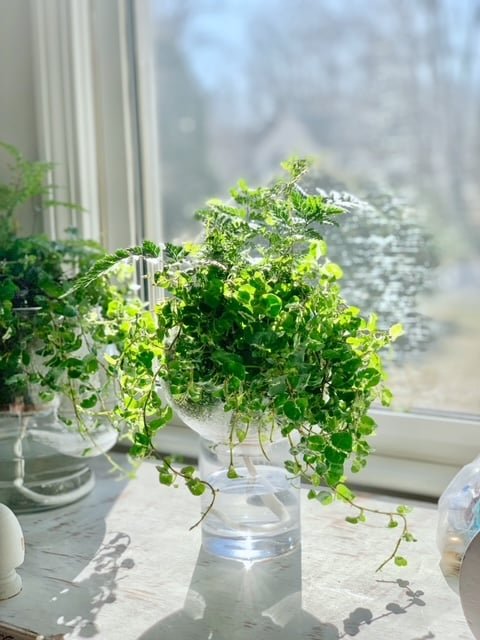
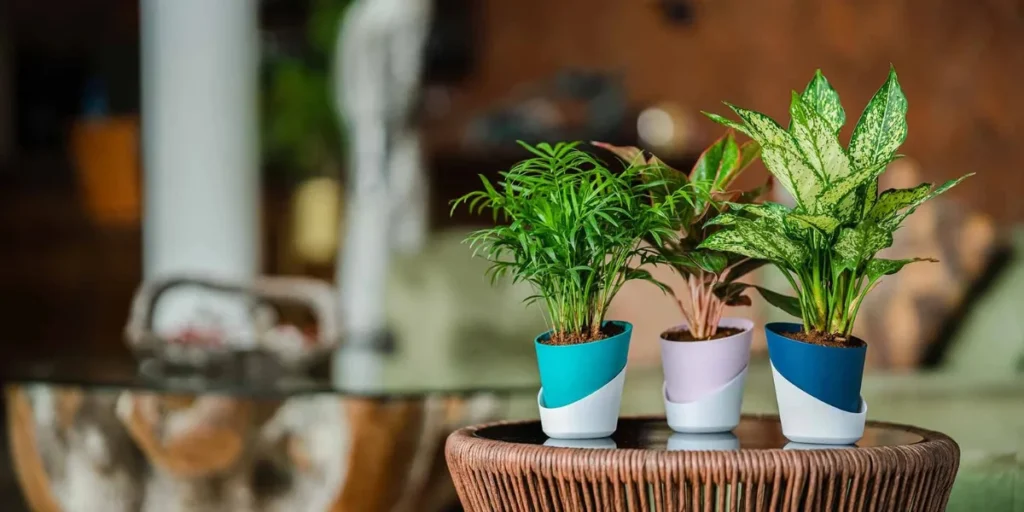
✔ Ideal for Indoor and Balcony Gardening
Perfect for growing herbs, vegetables, flowers, and ornamental plants in small spaces.
Step 1: Choosing the Right Plants
Almost any plant can thrive in a self-watering pot, but some benefit more than others.
Best Plants for Self-Watering Pots
- Vegetables: Lettuce, spinach, tomatoes, peppers, cucumbers
- Herbs: Basil, mint, coriander, parsley
- Flowers: Petunias, geraniums, impatiens
- Fruiting plants: Strawberries, dwarf varieties of fruiting plants
Tips
- Plants with high water requirements thrive best.
- Succulents and cacti need little water, so self-watering pots are not ideal for them.
Step 2: Selecting the Right Self-Watering Pot
Self-watering pots come in various sizes and materials. Choosing the right one depends on your plant and space.
Materials
- Plastic: Lightweight, affordable, and durable
- Ceramic: Stylish but heavier and less portable
- Fabric grow bags with reservoirs: Breathable and ideal for root vegetables
Size Considerations
- Small pots for herbs or small flowers
- Medium to large pots for vegetables or fruiting plants
- Deep pots for root crops like carrots or radishes
Tip:
Ensure the pot has a clear water-level indicator to avoid over or under-watering.
Step 3: Preparing the Pot for Planting
Materials Needed
- Self-watering pot
- Potting mix (light, nutrient-rich, well-draining)
- Plants or seeds
- Optional: Fertilizer
Steps
- Fill the reservoir with water, checking the water level indicator.
- Add a layer of coarse material (gravel or small stones) at the bottom if required by the pot design.
- Fill the pot with a quality potting mix.
- Plant seeds or seedlings according to recommended depth.
- Water lightly to settle the soil.
Tip: Avoid compacting the soil too much, as it may block the wicking mechanism.
Step 4: Watering and Maintaining the Reservoir
The key advantage of self-watering pots is consistent hydration, but maintenance is crucial.
Watering Tips
- Check the reservoir weekly. Refill as needed.
- Use room-temperature water to avoid shocking roots.
- Add water-soluble fertilizer to the reservoir every 2–3 weeks for nutrient supply.
Maintenance Tips
- Clean the reservoir periodically to prevent algae buildup.
- Check the wicking system for blockages.
- Ensure overflow holes remain clear.
Step 5: Fertilization and Nutrient Management
Self-watering pots can leach nutrients if overwatered, so fertilization is key.
Fertilizer Options
- Organic liquid fertilizers like compost tea or fish emulsion
- Slow-release granular fertilizers mixed into the soil
- Special hydroponic fertilizers for high-demand plants
Tips
- Fertilize according to plant type and growth stage.
- Avoid adding too much fertilizer to the water reservoir, which can damage roots.
Step 6: Light and Placement
Plants in self-watering pots still require proper sunlight.
Placement Tips
- Most vegetables and herbs need 6–8 hours of sunlight daily.
- For indoor placement, use LED grow lights if sunlight is limited.
- Rotate pots periodically for uniform growth.
Tip: Avoid placing pots too close to walls that block airflow or sunlight.
Step 7: Pruning and Plant Training
Pruning encourages healthy growth and prevents overcrowding.
Pruning Tips
- Remove dead or yellowing leaves regularly.
- Trim excess growth to improve airflow and light penetration.
- Train vining plants like tomatoes or cucumbers using stakes or trellises.
Step 8: Pest and Disease Management
While self-watering pots reduce some risks, pests and diseases can still affect plants.
Common Pests
- Aphids
- Whiteflies
- Spider mites
Organic Solutions
- Spray neem oil or insecticidal soap.
- Introduce beneficial insects like ladybugs.
- Remove affected leaves promptly.
Disease Prevention
- Avoid waterlogging around roots.
- Keep foliage dry and remove diseased leaves.
- Ensure proper air circulation between pots.
Step 9: Harvesting from Self-Watering Pots
Harvesting is easier since plants grow optimally with consistent water.
Harvesting Guidelines
- Leafy greens: pick outer leaves regularly.
- Vegetables: harvest when fully grown but still tender.
- Herbs: trim regularly to encourage continuous growth.
- Fruiting plants: harvest fruits at peak ripeness to promote more production.
Tip: Frequent harvesting ensures continuous growth and maximizes yield.
Step 10: Creative Uses for Self-Watering Pots
- Vertical Gardens: Stack or hang multiple pots for space-saving solutions.
- Balcony Gardens: Grow vegetables, herbs, and flowers in limited areas.
- Educational Gardens: Teach children about plant growth, water conservation, and sustainability.
- Decorative Indoor Plants: Stylish pots add greenery to living spaces while maintaining easy care.
Benefits Recap of Self-Watering Pots
- Time-Saving: Less frequent watering needed.
- Water Conservation: Uses water efficiently.
- Healthier Plants: Reduces risk of root rot and stress.
- Maximized Yield: Consistent hydration supports better growth and productivity.
- Space Optimization: Ideal for apartments, balconies, and small gardens.
- Eco-Friendly: Can be made from recycled materials.
Tips for Year-Round Self-Watering Gardening
- Rotate crops seasonally for continuous harvest.
- Combine indoor and balcony pots for diverse gardening.
- Monitor water levels consistently during hot months.
- Adjust fertilizer concentration based on plant growth and size.
- Use self-watering pots to experiment with exotic plants or vegetables that need steady moisture.
Conclusion: Transform Your Gardening Experience with Self-Watering Pots
Self-watering pots are a game-changer for anyone who loves gardening but struggles with time, space, or consistency in watering. By providing consistent moisture, reducing maintenance, and promoting healthy root development, these pots make it easy to grow thriving vegetables, herbs, and flowers even in small urban spaces.
With the right pot, soil, plants, and care, self-watering systems can turn any balcony, rooftop, or windowsill into a productive garden. Whether you are a beginner gardener or an experienced horticulturist, self-watering pots simplify plant care, conserve water, and increase your gardening success—all while delivering beautiful, healthy, and productive plants.