Watermelon is one of the most beloved summer fruits. Its sweet, juicy flesh is refreshing, hydrating, and perfect for hot days. Growing watermelons at home is not only satisfying but also allows you to enjoy fruit free from pesticides and chemicals. While many people think that cultivating watermelons requires vast spaces and complicated techniques, it is possible to grow plump, juicy watermelons even in home gardens with the right care and guidance.
This guide will provide a step-by-step roadmap for planting, nurturing, and harvesting watermelons that are flavorful, large, and juicy. From choosing the right variety to soil preparation, watering, fertilization, pest control, and harvesting tips, you’ll gain everything you need to grow your own summer delight at home.
Step 1: Choosing the Right Watermelon Variety
Watermelon comes in a variety of shapes, sizes, and flavors. Selecting the right variety is the first step to growing juicy watermelons.
Popular Watermelon Varieties
- Sugar Baby: Small, round, dark green skin, very sweet
- Crimson Sweet: Large, striped, classic red flesh
- Jubilee: Long, striped, sweet, ideal for large harvests
- Seedless Varieties: Easy to eat and increasingly popular
Tips
- Choose a variety that suits your garden space and climate.
- Seedless varieties may require more care but are easier to consume.
- Select disease-resistant varieties for better survival rates.
Step 2: Preparing the Planting Area

Watermelons thrive in full sun and well-drained soil.
Soil Requirements
- Sandy loam or loamy soil with good drainage
- Slightly acidic to neutral pH (6.0–7.0)
- Enriched with organic matter such as compost or well-rotted manure
Site Selection
- Choose a sunny area with at least 6–8 hours of direct sunlight daily.
- Ensure sufficient space for vines to spread (watermelons are sprawling plants).
Tip:
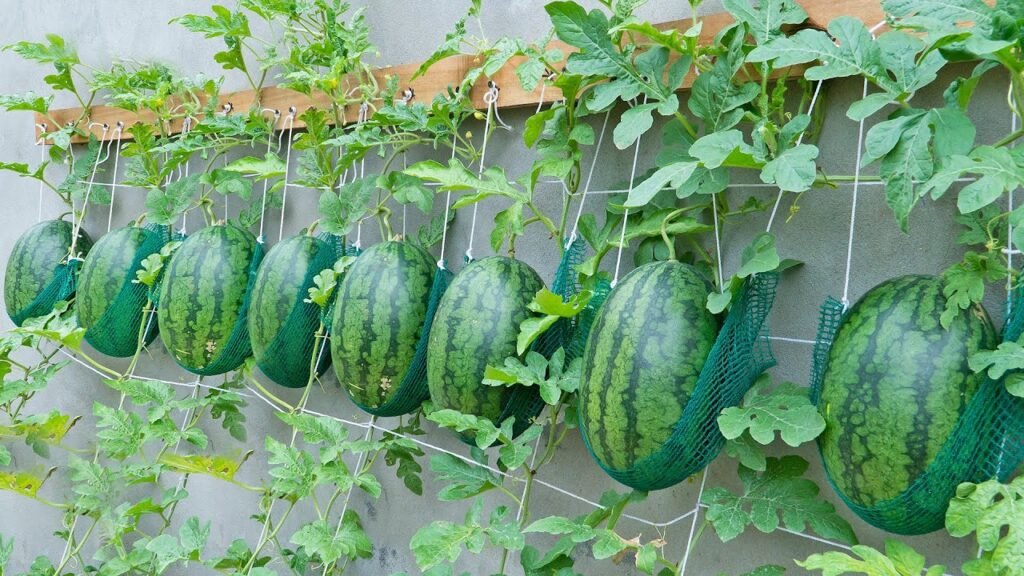
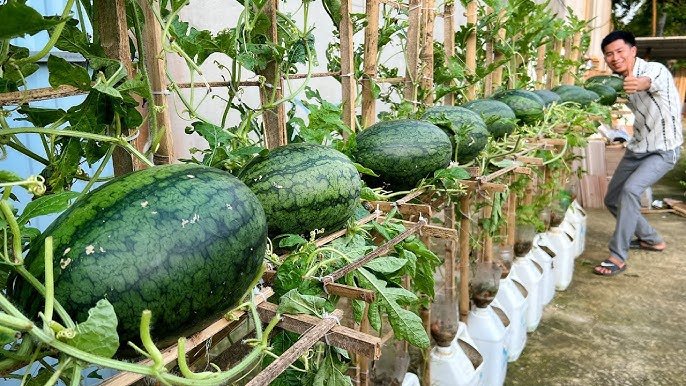
If space is limited, consider vertical watermelon cultivation using trellises for smaller varieties.
Step 3: Sowing Seeds or Transplanting Seedlings
Watermelons can be started directly in the garden or raised indoors and transplanted later.
Direct Sowing
- Sow seeds 1 inch (2.5 cm) deep in small hills or mounds.
- Space hills 4–6 feet apart to allow vines to spread.
- Plant 2–3 seeds per mound and thin to the strongest seedling after germination.
Starting Indoors
- Sow seeds 3–4 weeks before the last frost in seed trays.
- Use a light, well-draining seed-starting mix.
- Transplant seedlings when they have 2–3 true leaves and soil is warm (70–85°F / 21–29°C).
Tip:
Soak seeds overnight before sowing to improve germination rates.
Step 4: Watering Watermelons
Watermelons are sensitive to inconsistent watering, which can affect size, sweetness, and overall quality.
Watering Guidelines
- Keep soil consistently moist during the first 3–4 weeks.
- Reduce watering slightly once vines start to flower to concentrate sugars in the fruit.
- Water deeply at the base of plants early in the morning.
- Avoid wetting leaves to prevent fungal diseases.
Tip:
Use drip irrigation or a soaker hose for efficient watering and water conservation.
Step 5: Fertilizing for Maximum Sweetness
Proper nutrition is essential for juicy, flavorful watermelons.
Fertilization Steps
- Mix compost or well-rotted manure into soil before planting.
- Apply a balanced fertilizer (NPK 10-10-10) at planting.
- Side-dress with nitrogen-rich fertilizer 3–4 weeks after germination to encourage vine growth.
- Switch to a phosphorus and potassium-rich fertilizer once flowers appear to improve fruit development and sweetness.
Tip:
Avoid over-fertilization with nitrogen during fruiting, as this can lead to excessive foliage and poor fruit quality.
Step 6: Pollination and Flower Care
Watermelons produce male and female flowers that require pollination to set fruit.
Pollination Tips
- Bees and other pollinators are essential for fruit development.
- If growing indoors or in limited spaces, hand-pollinate using a soft brush.
- Identify male flowers (thin stems) and female flowers (swollen base where fruit will form).
Tip:
Pollination early in the morning yields the best results.
Step 7: Supporting Vines
Watermelon vines can grow very long, sometimes reaching 10–20 feet. Supporting vines is essential for optimal growth and fruit development.
Vine Management
- Train vines away from crowded areas.
- Use mulch to reduce weeds and maintain soil moisture.
- Smaller varieties can be trellised with strong support and nets to hold fruits.
Step 8: Pest and Disease Management
Watermelons are susceptible to pests and diseases, especially in home gardens.
Common Pests
- Aphids
- Spider mites
- Whiteflies
- Cucumber beetles
Common Diseases
- Powdery mildew
- Downy mildew
- Fusarium wilt
- Anthracnose
Organic Control Measures
- Use neem oil or insecticidal soap for pests.
- Remove infected leaves immediately.
- Ensure good airflow and proper spacing to prevent fungal diseases.
Step 9: Mulching and Soil Care
Mulching watermelons provides multiple benefits.
Benefits of Mulching
- Retains soil moisture
- Reduces weed growth
- Protects fruits from direct contact with soil, preventing rot
- Helps regulate soil temperature
Tip:
Use straw, dried leaves, or black plastic mulch to maximize these benefits.
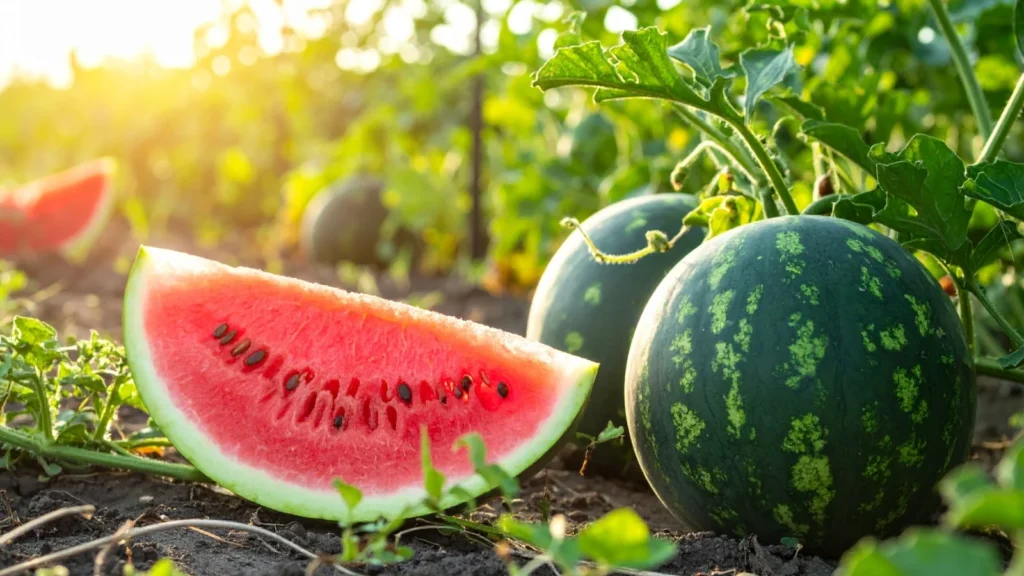
Step 10: Harvesting Juicy Watermelons
Timing is key to harvesting the sweetest watermelons.
Signs of Ripeness
- The tendril nearest the fruit turns brown and dries.
- The underside of the fruit touching the soil turns creamy yellow.
- Fruit sounds hollow when tapped lightly.
- The skin loses its shiny appearance.
Harvesting Tips
- Use a sharp knife to cut the fruit from the vine, leaving a small portion of stem attached.
- Avoid pulling the fruit, which can damage vines.
- Store harvested watermelons in a cool, shaded area.
Step 11: Enhancing Sweetness and Juiciness
- Reduce water slightly as fruits mature to concentrate sugars.
- Ensure full sunlight exposure, as sugar production relies on photosynthesis.
- Avoid cutting or damaging the vine, which can reduce nutrient flow to the fruit.
Step 12: Companion Planting for Better Growth
Growing watermelons alongside beneficial companion plants can improve yields and reduce pests.
Good Companions
- Corn: provides partial shade for vines in hot climates
- Marigolds: repel nematodes and insects
- Beans: enrich soil with nitrogen
Plants to Avoid
- Potatoes and aromatic herbs that compete for nutrients or attract pests
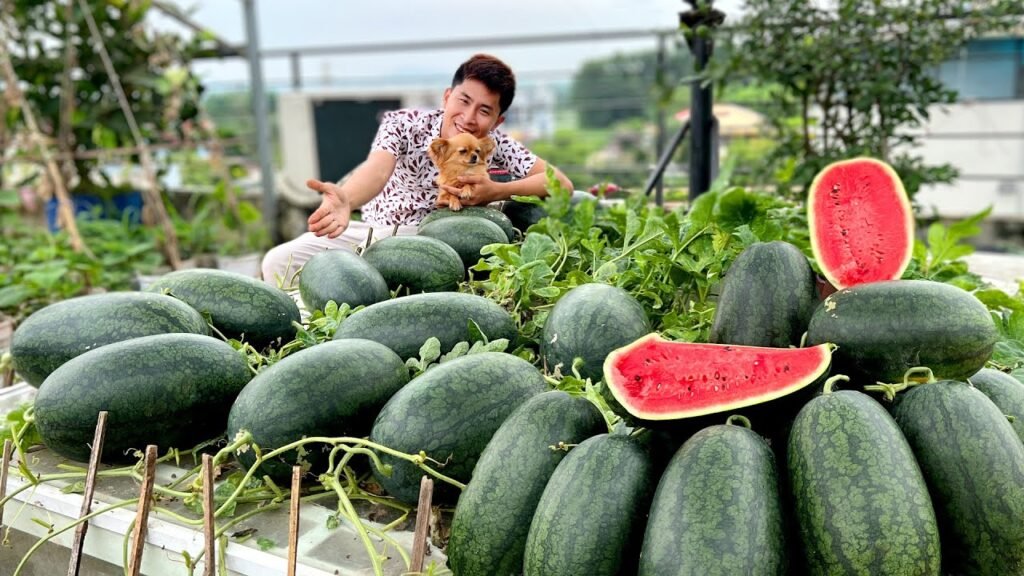
Step 13: Benefits of Growing Watermelons at Home
- Fresh and Chemical-Free: Control over fertilizers and pesticides.
- Cost-Effective: Reduces the need to buy expensive watermelons.
- High Nutrition: Rich in vitamins A, C, antioxidants, and hydration.
- Therapeutic: Gardening reduces stress and promotes healthy outdoor activity.
- Fun for Families: Children and adults alike enjoy growing and harvesting watermelons.
Step 14: Tips for Year-Round Watermelon Gardening
- Start seeds indoors in colder climates to extend the growing season.
- Use containers or raised beds for better soil management.
- Rotate crops to maintain soil fertility.
- Plant different varieties for continuous harvest.
- Monitor pests and diseases regularly for optimal growth.
Conclusion: Grow Totally Juicy Watermelons at Home
Growing watermelons at home is incredibly rewarding. By choosing the right variety, preparing fertile soil, providing consistent water and nutrition, managing pests and diseases, and harvesting at the right time, anyone can enjoy sweet, juicy, and refreshing watermelons right from their garden.
Even in limited spaces, container gardening, raised beds, or vertical supports can allow watermelons to thrive. With patience, proper care, and attention to detail, your garden can produce summer-perfect watermelons that delight your taste buds and provide endless refreshment for your family.