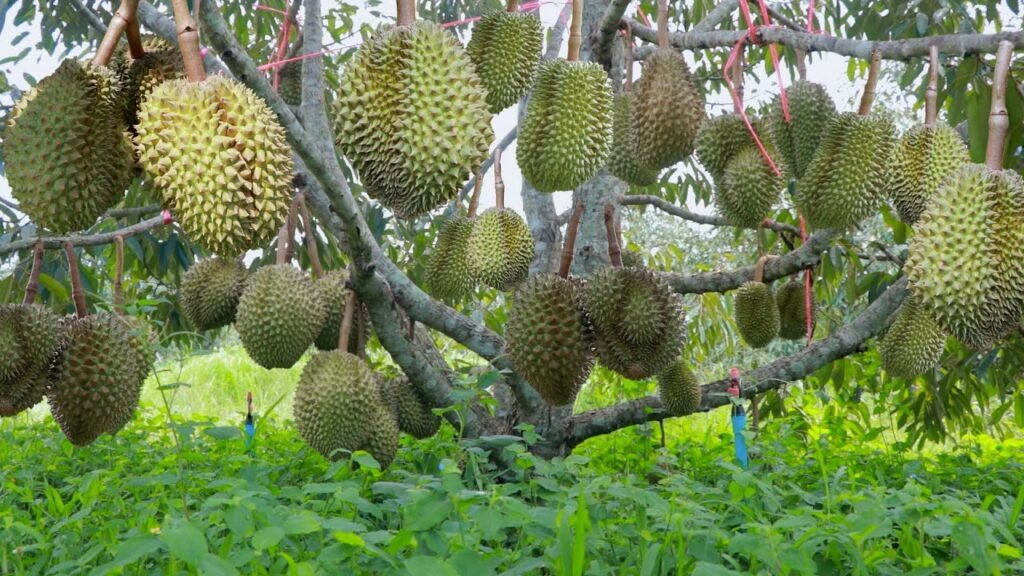
Durian is known as the “King of Fruits,” admired across Southeast Asia for its rich aroma, creamy texture, and unique flavor. For growers, producing high-quality durian fruits takes patience, skill, and the right propagation technique. One of the most reliable and efficient methods for producing healthy, fast-growing durian trees is side grafting.
Side grafting allows you to combine the strong root system of a hardy durian seedling (rootstock) with the desirable characteristics of a proven fruiting tree (scion). When done correctly, this method ensures faster growth, earlier fruiting, and improved disease resistance.
In this complete guide, you’ll learn how to side graft a durian plant effectively—even if you’re a beginner. From choosing the right materials to understanding after-graft care, this 1200-word article covers everything you need to succeed.
1. Why Side Grafting Is Better for Durian Plants
Durian trees grown from seeds are unpredictable—they may take up to 15 years to fruit and often produce fruits that differ from the parent tree. Side grafting solves these issues:
Benefits of Side Grafting
- Faster fruiting (3–5 years instead of 10–15)
- High-quality fruits identical to the parent tree
- Stronger root system from the seedling rootstock
- Improved disease resistance
- Better adaptability to soil and climate conditions
- Higher success rate than top grafting for beginners
Side grafting is especially ideal for durian because of its vertical growth habit and sensitivity to environmental stress.
2. Materials You Need for Durian Side Grafting
Before you start, gather all essential tools and plant materials:
- A healthy durian seedling (6–12 months old)
- A mature scion from a productive durian tree
- Sharp grafting knife
- Grafting tape (stretchable)
- Alcohol or sanitizer (for sterilizing tools)
- Pruning shears
- Shade net or protective covering
Having clean, sharp tools is crucial—dull blades cause rough cuts, which reduce grafting success.
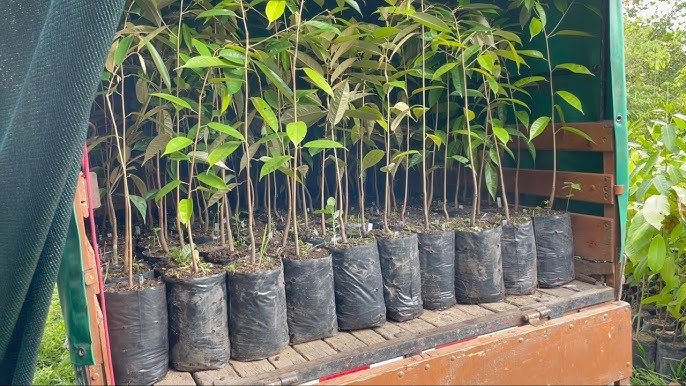
3. Choosing the Right Rootstock
The rootstock is the seedling that will provide the roots for your grafted durian plant. Select one that is:
- 6–12 months old
- 0.8–1 cm in stem diameter
- Healthy, free from pests and diseases
- Growing vigorously
- Planted in well-drained soil or a grow bag
Seedlings grown from robust local durian varieties make excellent rootstocks because they are well adapted to the environment.
4. Selecting the Perfect Scion

The scion determines the quality of the fruits your grafted tree will produce. Choose scions from:
- A mature, well-fruiting tree
- A variety with excellent taste and aroma
- 1–2 months old green wood (semi-hard)
- Healthy, disease-free branches
- 15–20 cm in length with 2–3 buds
Cut the scion early in the morning when moisture content is high. Wrap it in a damp cloth to keep it fresh.
5. Step-by-Step Method: How to Side Graft a Durian Plant
Follow these simple steps for the highest success rate:
Step 1: Prepare the Rootstock
- Choose a smooth area on the rootstock stem, 10–20 cm above the soil level.
- Make a slanted cut about 3–4 cm long into the side of the rootstock.
- The cut should be deep enough to hold the scion but should not pierce through the stem.
This creates a perfect pocket for inserting the scion.
Step 2: Prepare the Scion
- Trim the base of the scion into a wedge shape, about 2–3 cm long.
- Ensure the wedge sides are smooth and even.
- Remove excess leaves, keeping only one trimmed leaf at the top for moisture control.
Proper shaping ensures good cambium contact, which is essential for grafting success.
Step 3: Insert the Scion into the Rootstock Cut
- Carefully slide the wedge-shaped scion into the cut made on the rootstock.
- Ensure the cambium layers (inner green layers) of both scion and rootstock align perfectly on at least one side.
- The scion should fit tightly without gaps.
Perfect alignment is the key to grafting success.
Step 4: Secure the Graft
- Use grafting tape to wrap the graft union securely.
- Cover the entire graft area—but do not wrap too tightly to avoid damaging tissues.
- Seal all openings to prevent entry of air, pests, and moisture.
Some growers also apply grafting wax, but it’s optional if the tape seals well.
Step 5: Protect the New Graft
Durian scions are sensitive to sun and heat. To protect them:
- Place the plant under 50–70% shade
- Avoid strong wind exposure
- Keep the plant moist but not waterlogged
- Cover the graft with a plastic bag if the climate is very dry
This micro-environment helps the scion stay hydrated until it joins with the rootstock.
6. After-Care: Ensuring the Graft Grows Successfully
After-graft care determines whether your graft will succeed. Follow these essential practices:
1. Daily Monitoring
Check for:
- Drying scion
- Mold or fungal growth
- Loose tape
- Pests
Immediate action saves the graft from failure.
2. Watering
Keep soil moist—not too dry and not waterlogged. Overwatering can cause root rot, while underwatering dries the scion.
3. Remove New Rootstock Shoots
Any shoots growing from below the graft union must be removed. These shoots compete for nutrients and slow down scion growth.
4. Graft Union Inspection
After 2–3 weeks, the union should begin healing. You may notice swelling or callus formation.
5. Removing the Tape
After 4–6 weeks, carefully remove the grafting tape. If it is too tight, it can cut into the growing stem.
6. Gradual Sun Exposure
Once the scion begins growing new shoots, slowly expose the plant to more sunlight to strengthen it.
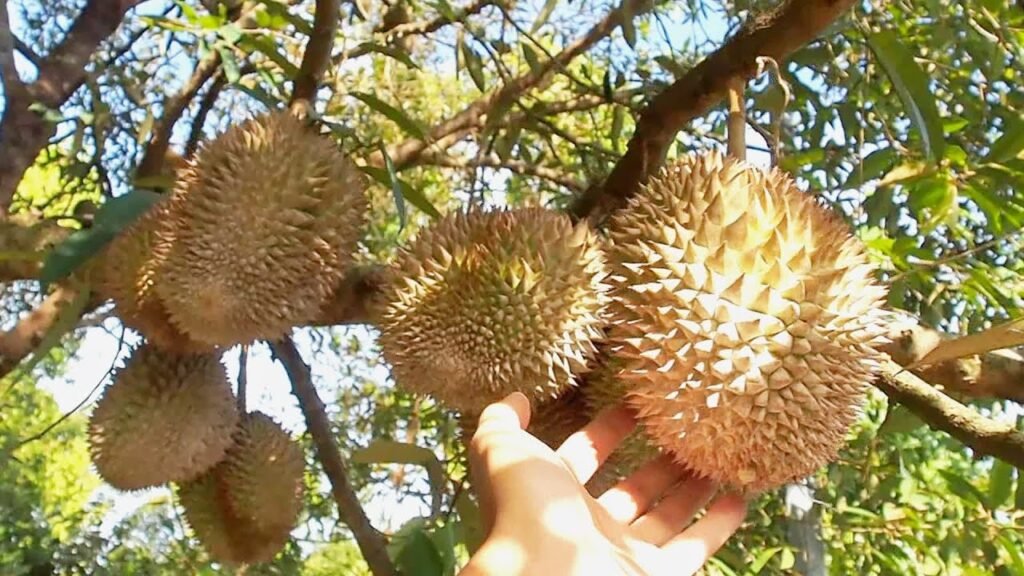
7. How to Know If Your Graft Is Successful
A successful graft will show:
- Fresh green color of the scion
- New leaf buds emerging
- Firm graft union
- No signs of drying or wilting
If the scion turns brown or shrivels, the graft has failed. You can try again once the plant recovers.
8. Common Mistakes That Cause Grafting Failure
Avoid these mistakes to improve your success rate:
- Using weak or diseased scions
- Poor alignment of cambium
- Using dry or stale scions
- Making uneven or rough cuts
- Leaving air pockets in the graft
- Overexposure to sunlight
- Overwatering or underwatering
- Not sterilizing tools before use
Correct technique and proper after-care are the keys to success.
9. Advantages of Side Grafting Over Other Methods
Compared to top grafting or cleft grafting, side grafting offers:
- Higher success rate
- Faster recovery
- Less damage to the rootstock
- Ability to graft without cutting the main stem
- Ideal for sensitive species like durian
- Better for beginners
This is why most professional durian nurseries prefer side grafting.
10. When to Expect Results
After successful grafting:
- Budding begins in 3–6 weeks
- Scion grows new leaves in 6–8 weeks
- Plant becomes strong in 3–4 months
- Ready for field planting in 6–9 months
Properly grafted durian trees bear fruits in 3–5 years depending on the variety and care.
Final Thoughts
Side grafting is one of the most effective methods for producing strong, high-quality durian plants. With the right scion, a healthy rootstock, proper technique, and consistent after-care, even beginners can master this propagation method. The result? A fast-growing, disease-resistant durian tree capable of producing fruits just like the parent plant.
By learning how to side graft durian correctly, you’re not just growing a tree—you’re cultivating a future harvest of premium durians right from your home or farm.