Chili peppers are a favorite in kitchens worldwide for their spicy flavor, vibrant colors, and health benefits. From fresh cooking to drying for spices, homegrown chili peppers elevate any dish. While many gardeners buy seedlings, propagating chili plants directly from chili fruits (seeds) is cost-effective, fun, and incredibly rewarding.
This guide will take you through step-by-step instructions on how to propagate chili plants from chili, tips for successful growth, pest management, and techniques for maximizing yields. Whether you are a beginner or an experienced gardener, this method ensures you have healthy, productive chili plants year-round.
🌶 Why Propagate Chili Plants from Chili?
1. Cost-Effective
- Growing from seeds means no need to buy nursery plants.
- You can reuse seeds from your favorite chili varieties.
2. Wide Variety Choices
- You can experiment with multiple chili varieties and flavors.
- From mild bell peppers to fiery bird’s eye chilies, the options are endless.
3. Easy and Fun
- Seed propagation is simple, educational, and perfect for home gardeners and children learning about plant growth.
4. Control Over Plant Health
- Starting from seeds allows you to ensure disease-free plants.
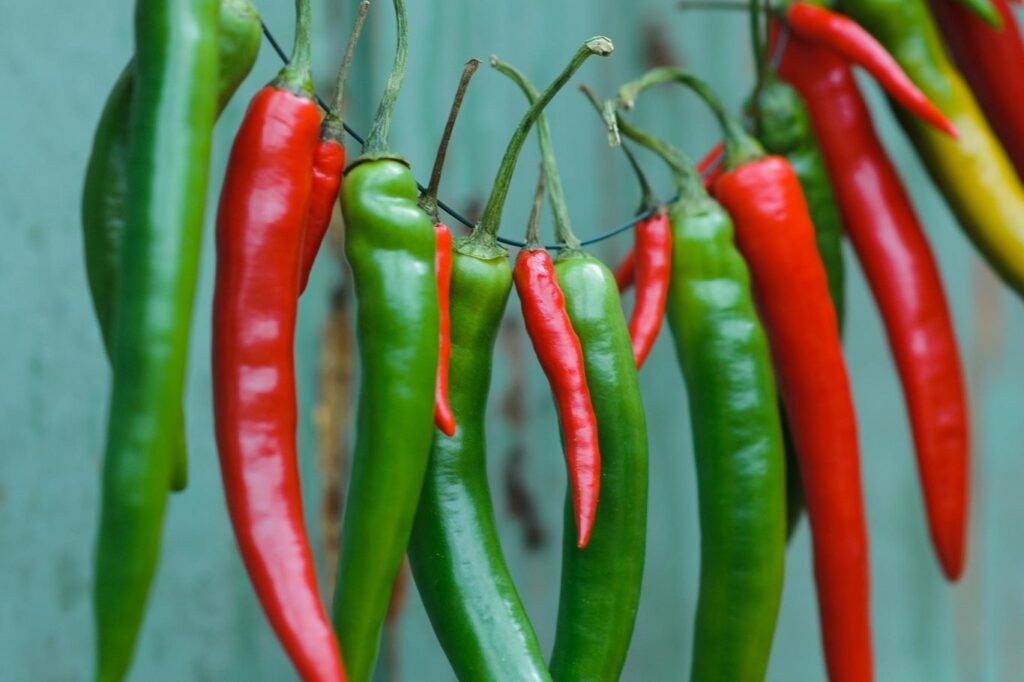
🌱 Step 1: Selecting the Right Chili Fruits
For successful propagation, choose healthy, fully ripe chilies:
- Brightly colored (red, yellow, or orange depending on variety)
- Firm and free of mold or disease
- Organic or chemical-free fruits are preferable
Tip: Avoid using overripe or shriveled chilies as the seeds may be weak or non-viable.
🌱 Step 2: Extracting and Preparing Seeds
- Cut the chili open carefully.
- Scoop out the seeds using a spoon.
- Place the seeds in a bowl of water and remove the pulp completely.
- Spread seeds on a paper towel or clean plate to dry for 1–2 days in shade.
Important: Avoid direct sunlight while drying, as it may damage the seeds and reduce germination rates.
🌱 Step 3: Preparing the Soil or Growing Medium
Chili plants prefer well-draining, fertile soil.
Recommended Soil Mix:
- 40% garden soil
- 30% compost or vermicompost
- 20% sand
- 10% cocopeat (optional, for moisture retention)
Preparation:
- Fill seed trays, small pots, or polybags with this soil mixture.
- Ensure good drainage holes to prevent waterlogging.
🌱 Step 4: Sowing Chili Seeds
- Make small holes about ¼ inch deep in the soil.
- Place 2–3 seeds per hole.
- Cover lightly with soil and gently press down.
- Water the soil gently until it is moist but not soggy.
Tip: Keep a consistent moisture level to encourage faster germination.
🌞 Step 5: Ideal Conditions for Germination
- Temperature: 20–30°C is optimal for chili seed germination.
- Light: Keep seeds in indirect sunlight until seedlings emerge.
- Humidity: Cover the tray or pot with a plastic sheet to maintain humidity.
⏳ Germination Time
- Chili seeds usually sprout in 7–14 days under optimal conditions.
- Keep checking daily and remove the cover once seedlings emerge to prevent fungal growth.
🌱 Step 6: Caring for Seedlings
Once seedlings emerge:
- Ensure 6–8 hours of sunlight daily for healthy growth.
- Thin seedlings by removing the weaker ones; leave the strongest seedling per pot or cell.
- Water moderately, keeping the soil moist but not waterlogged.
- Apply liquid organic fertilizer (like compost tea) every 2–3 weeks for vigorous growth.
🌿 Step 7: Transplanting Chili Seedlings
When seedlings are 6–8 inches tall and have 4–6 true leaves:
- Prepare planting holes in the garden or larger pots.
- Mix compost or organic matter into the soil to enrich nutrients.
- Carefully transplant seedlings, ensuring roots are intact.
- Water immediately to settle the soil around the roots.
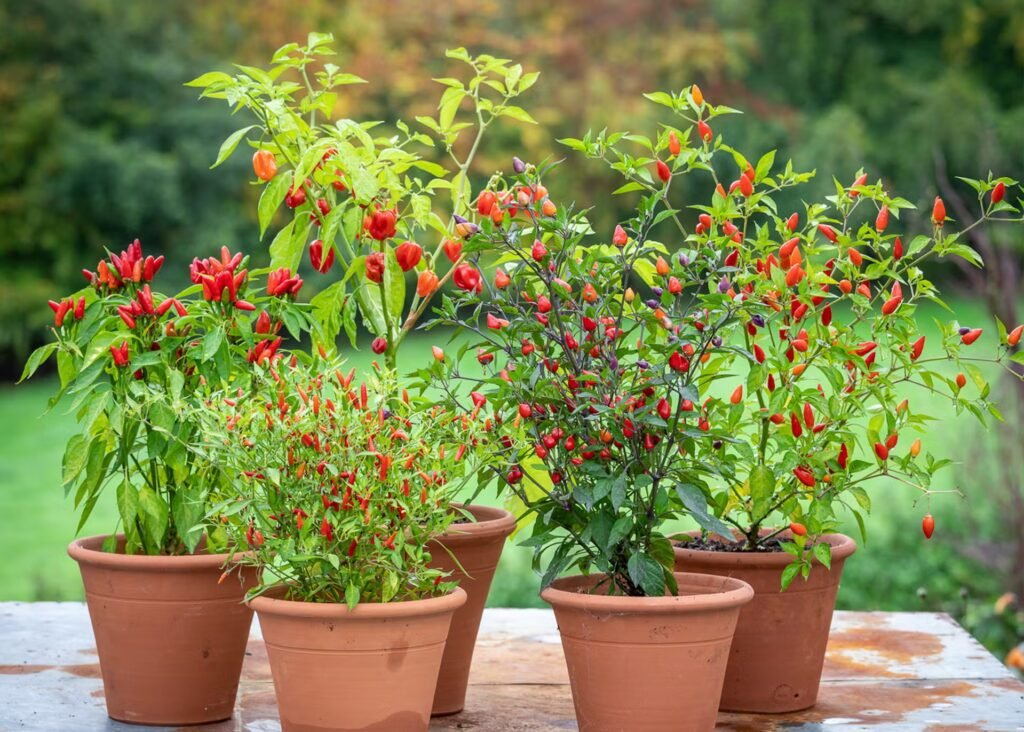
Spacing Recommendation
- Small chili varieties: 12–18 inches apart
- Large chili varieties: 18–24 inches apart
Proper spacing allows good airflow, sunlight penetration, and reduces pest pressure.
💧 Step 8: Watering and Mulching
- Water chili plants 2–3 times per week, increasing frequency in hot weather.
- Mulch around the base with dry leaves or straw to retain moisture and suppress weeds.
- Avoid wetting foliage excessively to prevent fungal diseases.
🌱 Step 9: Fertilizing Chili Plants
- Young Plants: Use organic compost or vermicompost every 30–40 days.
- Flowering Stage: Apply potassium-rich fertilizers to improve fruit size and quality.
- Continuous Feeding: Use liquid organic fertilizers or diluted compost tea every 2–3 weeks.
Tip: Healthy, well-fed plants produce more flowers and fruits.
🌿 Step 10: Pruning and Training
- Pinch the apical shoot when plants are 12–15 inches tall to encourage bushy growth.
- Remove yellowing or weak leaves to maintain plant vigor.
- Stake tall chili plants to prevent wind damage and breakage.
Proper pruning improves light penetration and airflow, enhancing flowering and fruiting.
🐛 Step 11: Pest and Disease Management
Chili plants can be affected by:
- Aphids, whiteflies, and spider mites: Spray neem oil weekly.
- Fungal infections (leaf spot, damping-off): Ensure well-draining soil and avoid waterlogging.
- Thrips or caterpillars: Use organic pesticides or manual removal.
Tip: Regular inspection prevents minor infestations from becoming serious problems.
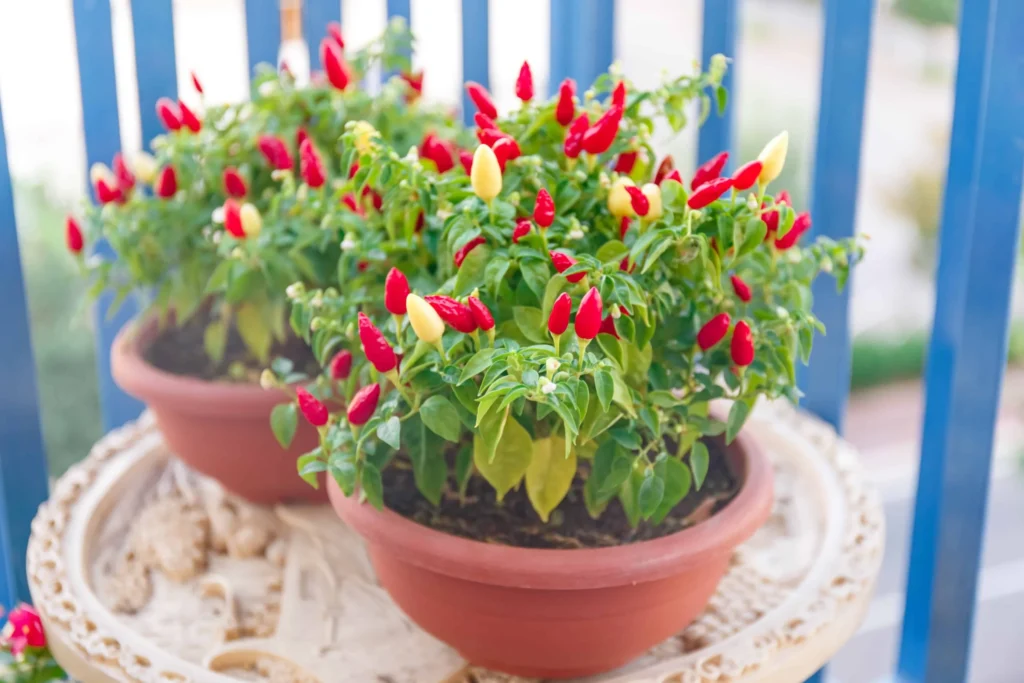
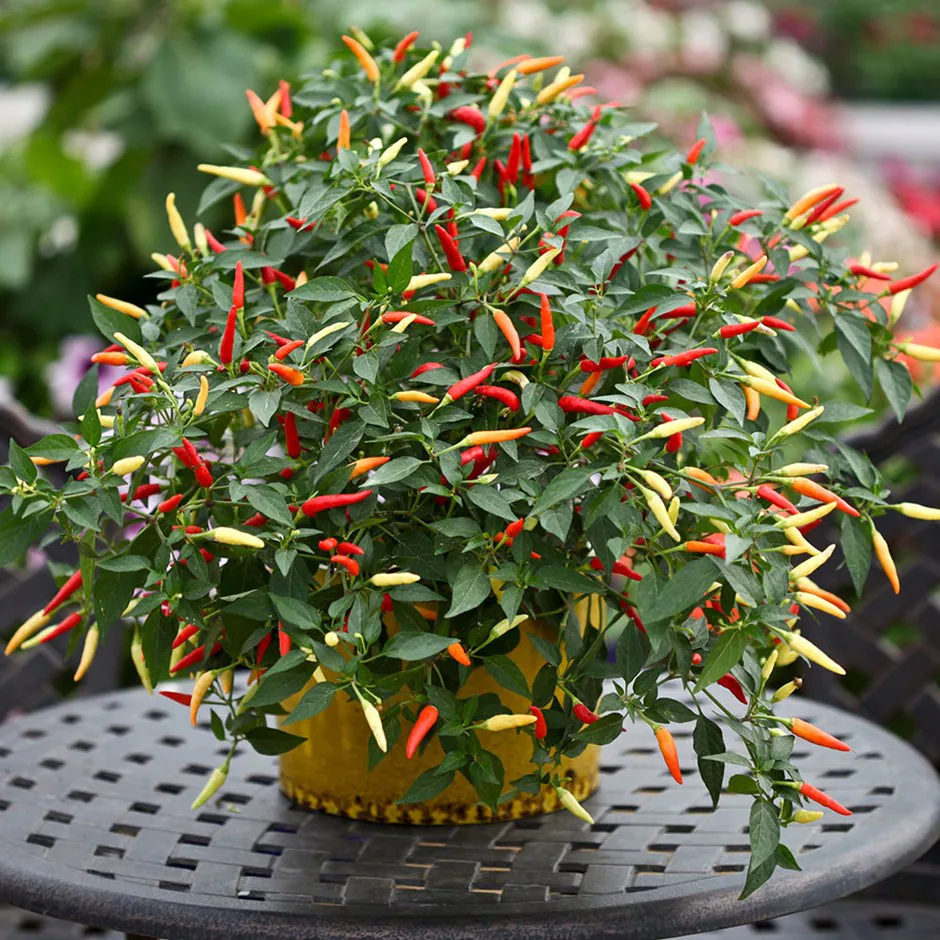
🌶 Step 12: Flowering and Fruit Production
- Chili plants start flowering 6–10 weeks after sowing, depending on variety and growing conditions.
- Flowers are small, white, or purple and attract pollinators like bees.
- Hand pollination can improve fruit set if pollinator activity is low.
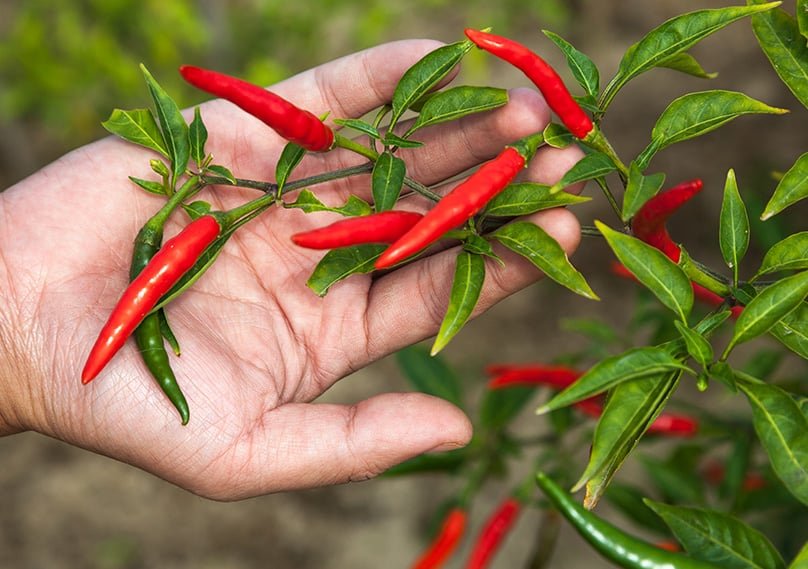
Fruit Maturity:
- Harvest small chilies green for spicy flavor.
- Allow fruits to ripen to red, yellow, or orange for sweeter taste and higher vitamin content.
🌟 Tips for Maximum Yield
- Choose High-Yield Varieties: Some chili varieties produce more fruits than others.
- Ensure Proper Sunlight: At least 6–8 hours of full sun daily.
- Consistent Watering and Feeding: Keeps plants healthy and productive.
- Regular Pruning: Encourages lateral branching and more flowers.
- Pest Management: Keep plants free from common pests and fungal infections.
- Pollination: Encourage bees or hand-pollinate flowers for better fruit set.
🌱 Advantages of Propagating Chili from Chili
- Cost-effective and sustainable
- Control over variety and plant health
- Fun and educational for beginners and children
- Produces strong, disease-resistant plants
- Ensures continuous chili harvest throughout the season
🌶 Conclusion
Propagating chili plants from chili is a simple, rewarding, and sustainable way to grow your own spicy harvest at home. By following the steps—selecting healthy fruits, preparing seeds, sowing carefully, providing proper care, and managing pests—you can enjoy abundant, high-quality chili peppers year-round.
This method not only saves money but also allows you to experiment with multiple varieties, create a beautiful home garden, and enjoy fresh, organic chilies straight from your backyard. Start today, and transform your kitchen into a spicy paradise with homegrown chili peppers! 🌶🌿