Papaya, often called the “fruit of the angels,” is a tropical delight known for its sweet, juicy flesh and remarkable nutritional benefits. Rich in vitamins, minerals, and enzymes, papaya is a favorite for home gardens, kitchen orchards, and small farms alike. While many gardeners buy papaya seedlings, growing papaya trees directly from fruit seeds is a rewarding and cost-effective approach. With the right techniques, you can turn a single papaya fruit into a thriving tree that produces abundant fruit in a few years.
In this comprehensive guide, we will explore how to grow papaya trees from papaya fruit, covering seed selection, preparation, planting, care, and tips for achieving maximum yield.
Why Grow Papaya from Fruit?
Growing papaya from fruit has several advantages:
- Cost-effective: You don’t need to buy expensive seedlings.
- Fresh and organic: You know the origin of the seeds and can avoid treated seeds.
- Easy propagation: Papaya seeds germinate quickly with minimal effort.
- High yield potential: Healthy seedlings grow into strong, fruit-bearing trees in 9–12 months under optimal conditions.
Papaya seeds are ready to germinate right from a ripe fruit, making this method ideal for gardeners of all levels.
Step 1: Selecting the Right Papaya Fruit

Choosing the right papaya fruit is the first secret to successful propagation:
- Select fully ripe fruit: Ripe papayas contain mature seeds capable of germination.
- Choose healthy fruits: Avoid fruits with blemishes, mold, or signs of disease.
- Variety matters: Popular varieties include Red Lady, Solo, Sunrise, and Mexican papaya. Choose a variety suited to your climate and soil for better results.
Pro Tip: If possible, choose a fruit from a tree known for high yield and disease resistance, as the seedlings inherit strong traits.
Step 2: Extracting and Preparing Papaya Seeds
Papaya seeds require proper preparation to enhance germination:
How to Extract Seeds
- Cut the papaya fruit lengthwise.
- Scoop out the black seeds using a spoon.
- Place seeds in a bowl of water.
Seed Cleaning
- Remove the gelatinous coating surrounding the seeds.
- Rub seeds gently with your fingers or a fine cloth.
- Rinse thoroughly with water.
Optional Seed Drying
- Spread cleaned seeds on a paper towel.
- Allow to dry for 1–2 days in a shaded area (avoid direct sunlight).
Secret Tip: Proper cleaning removes inhibitors that prevent seeds from germinating quickly.
Step 3: Choosing the Right Container and Soil
Papaya grows best in well-draining, fertile soil:
Soil Composition
- 50% garden soil
- 30% compost or vermicompost
- 20% sand or cocopeat
Container Choice
- Use seedling trays, small pots, or polybags.
- Ensure drainage holes to prevent waterlogging.
Pro Tip: Adding banana peel powder or compost tea to the soil improves germination and early growth.
Step 4: Planting Papaya Seeds
Direct Planting Method
- Fill your pot or seed tray with prepared soil.
- Plant seeds 1 cm deep.
- Cover lightly with soil.
- Water gently using a spray bottle to avoid displacing seeds.
Optional Pre-Germination
- Place seeds on a damp paper towel for 3–5 days until tiny sprouts appear.
- Transplant sprouted seeds into soil carefully to avoid damaging roots.
Secret Insight: Papaya seeds germinate quickly under warm conditions (25–30°C), often sprouting in 7–14 days.
Step 5: Watering and Moisture Management
Papaya seedlings need consistent moisture but do not tolerate waterlogging:
- Water lightly once or twice daily in the first 2 weeks.
- Maintain moist soil, not soggy soil.
- Use mulch to reduce evaporation and keep roots cool.
Pro Tip: Coconut husk or dry leaves make excellent mulch for papaya seedlings, promoting strong root development.
Step 6: Providing Adequate Sunlight
Papaya is a sun-loving plant:
- Place seedlings in an area receiving 6–8 hours of sunlight daily.
- Avoid direct afternoon sun for very young seedlings, which can cause leaf burn.
- Rotate pots if planting in trays to ensure uniform sunlight.
Proper sunlight enhances photosynthesis, leading to strong, vigorous plants.
Step 7: Fertilization for Healthy Papaya Growth
Papaya seedlings grow fast and require nutrient-rich soil:
Organic Fertilizers
- Vermicompost or cow dung
- Compost tea for foliar spraying
Chemical Fertilizers (Optional)
- NPK 10:10:10 during seedling stage
- Switch to NPK 15:15:15 once the tree matures
Special Nutrient Tips
- Potassium-rich fertilizer improves fruit size and sweetness.
- Magnesium and calcium strengthen stems and leaves.
Secret Insight: Foliar spraying with diluted banana extract or coconut water every 15 days boosts early flowering and fruiting.
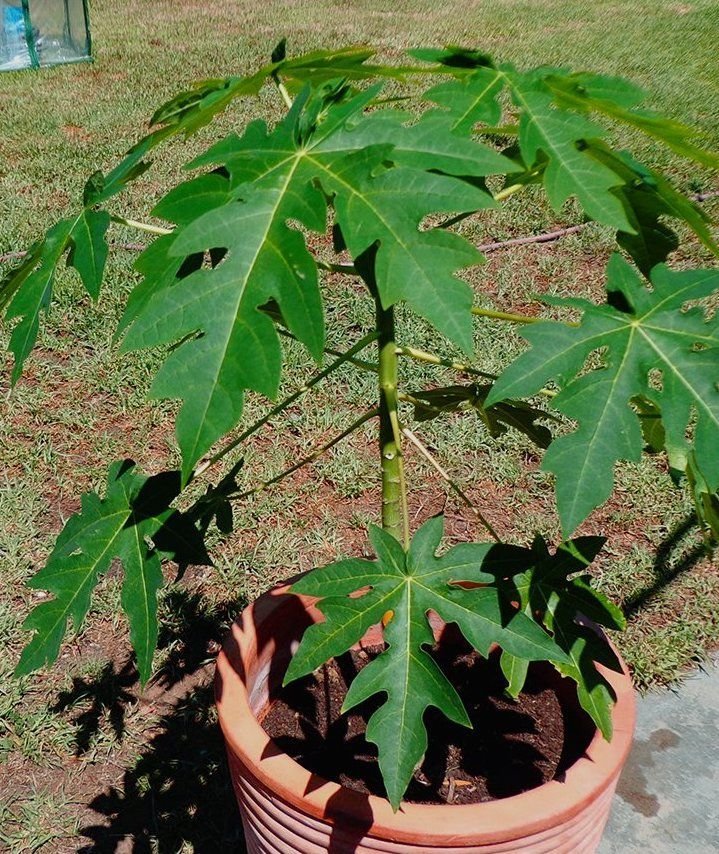
Step 8: Transplanting Seedlings to the Garden
After 1–2 months, seedlings grow 15–25 cm tall and are ready for transplanting:
- Prepare a planting pit 2 feet deep and 2 feet wide.
- Mix garden soil, compost, and sand in the pit.
- Transplant seedlings gently, keeping the root ball intact.
- Water immediately after planting.
Pro Tip: Plant seedlings at least 6–8 feet apart to allow air circulation and strong growth.
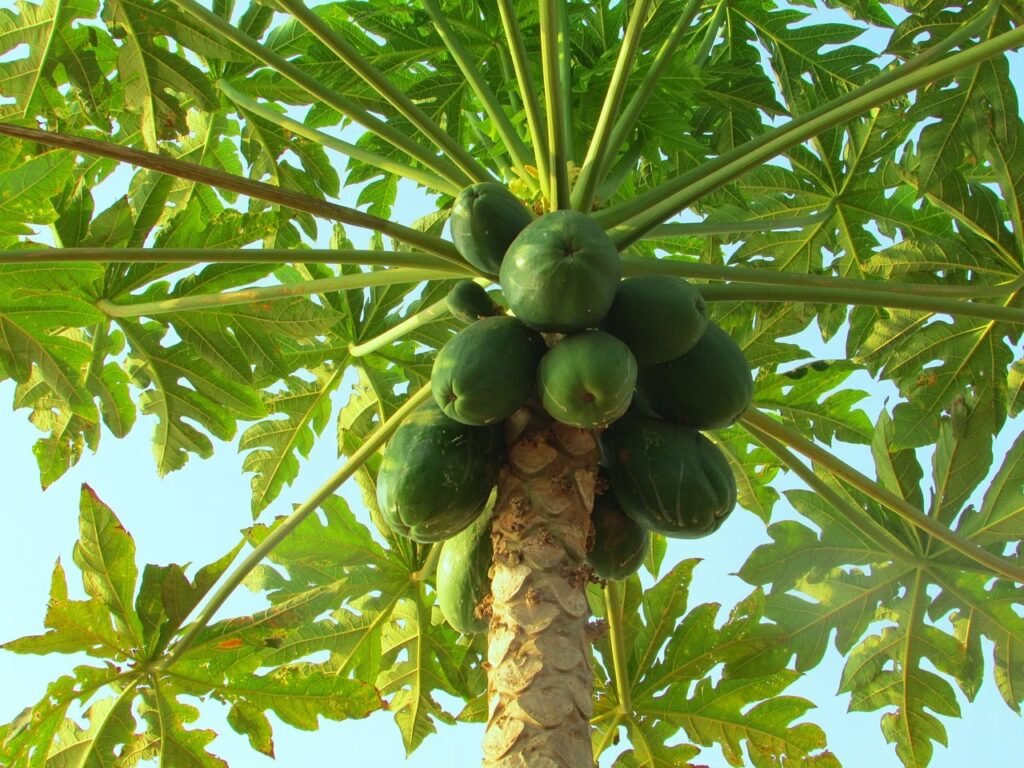
Step 9: Pruning and Tree Shaping Secrets
Papaya trees naturally develop a single trunk with leaves at the top. To enhance fruiting:
- Remove damaged, yellow, or diseased leaves regularly.
- Thin lateral shoots to focus energy on the main trunk.
- Avoid over-pruning young trees; moderate pruning encourages stronger growth.
Secret Insight: Supporting young papaya trees with a bamboo stick prevents them from bending or breaking during strong winds.
Step 10: Flowering and Pollination Tips
Papaya trees may be male, female, or hermaphrodite:
- Hermaphrodite trees produce both male and female flowers.
- Female flowers require pollination from male flowers to set fruit.
Pollination Tips
- Encourage natural pollinators such as bees.
- Hand-pollinate female flowers for guaranteed fruit set.
Secret Tip: Spray flowers with a diluted sugar solution to attract pollinators and increase fruit set.
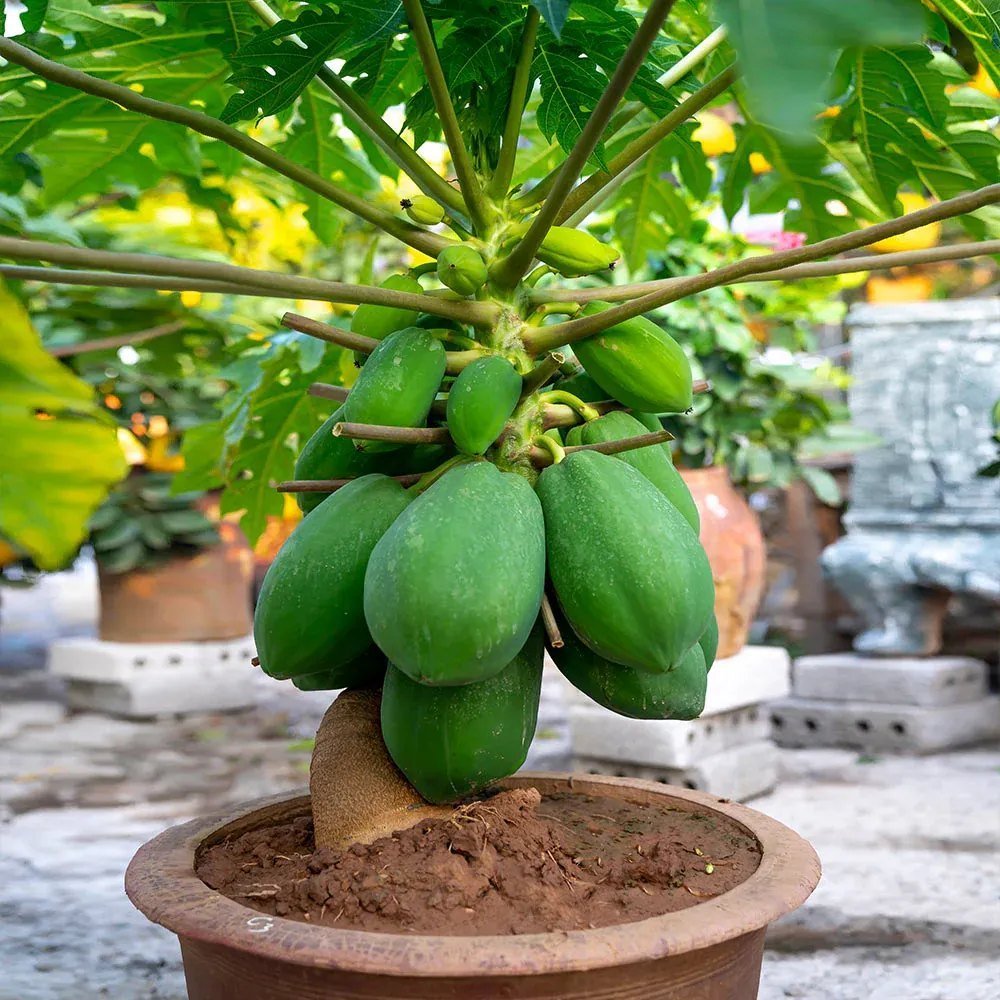
Step 11: Fruit Development and Harvesting
Papaya fruits mature 6–12 months after planting, depending on the variety:
- Fruits are ready to harvest when skin turns slightly yellow.
- Harvest fruits with a sharp knife to avoid damaging the tree.
- Regular harvesting encourages continuous fruiting.
Pro Tip: Avoid leaving overripe fruits on the tree, as they reduce the plant’s energy for new growth.
Step 12: Pest and Disease Management
Common pests include:
- Aphids, mealybugs, and spider mites
- Fruit flies affecting mature fruits
Diseases:
- Papaya ringspot virus
- Anthracnose
- Powdery mildew
Management Tips:
- Remove infected leaves and fruits promptly.
- Use neem oil, garlic spray, or insecticidal soap for pest control.
- Plant marigold or basil nearby to naturally repel insects.
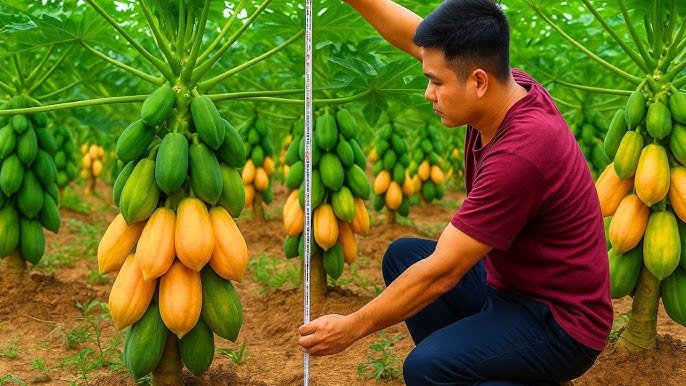
Advanced Secrets for Maximum Yield
- Composting: Regularly apply compost at the base of the tree.
- Foliar sprays: Banana peel extract or cow dung slurry improves fruit quality.
- Proper spacing: Ensures sunlight reaches all trees, reducing fungal issues.
- Regular monitoring: Early detection of pests or nutrient deficiencies increases success.
Following these practices can significantly increase fruit size, sweetness, and tree longevity.
Conclusion
Growing papaya trees from papaya fruit is an easy, cost-effective, and rewarding method that anyone can try. By selecting healthy fruits, properly preparing seeds, providing rich soil, adequate sunlight, consistent watering, and regular fertilization, gardeners can cultivate strong, productive papaya trees that bear fruit in as little as 9–12 months.
With proper care, pruning, and attention to flowering and pollination, a single papaya fruit can give rise to a lifetime of sweet, juicy harvests, turning your garden into a tropical paradise filled with nutritious fruits.
This method not only saves money but also allows you to grow organic, high-quality papaya plants from the comfort of your home.