Growing rice may sound like a task reserved for farmers with vast fields, but with a little creativity, anyone can start rice seedlings at home—even in small spaces. All you need is an old plastic bucket lid, some seeds, and a bit of patience.
This method is simple, inexpensive, and ideal for those who want to start rice cultivation from the very beginning. Whether you’re a gardening enthusiast, a city dweller with limited space, or someone experimenting with DIY agricultural projects, this trick is practical, fun, and surprisingly effective.
In this article, you’ll learn how to grow healthy rice seedlings using recycled materials, prepare them for transplantation, and set the stage for a bountiful rice harvest.
Why Start Rice Seedlings at Home?
Rice is a staple crop for billions, but growing your own seedlings has several advantages:
1. Control from the Start
Starting seedlings at home ensures strong, healthy plants that can survive better when transplanted to larger fields or containers.
2. Economical
Rice seeds are inexpensive, and using recycled materials like bucket lids makes this method budget-friendly.
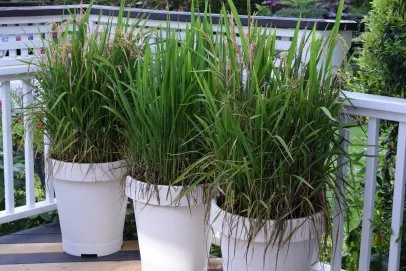
3. Space-Saving
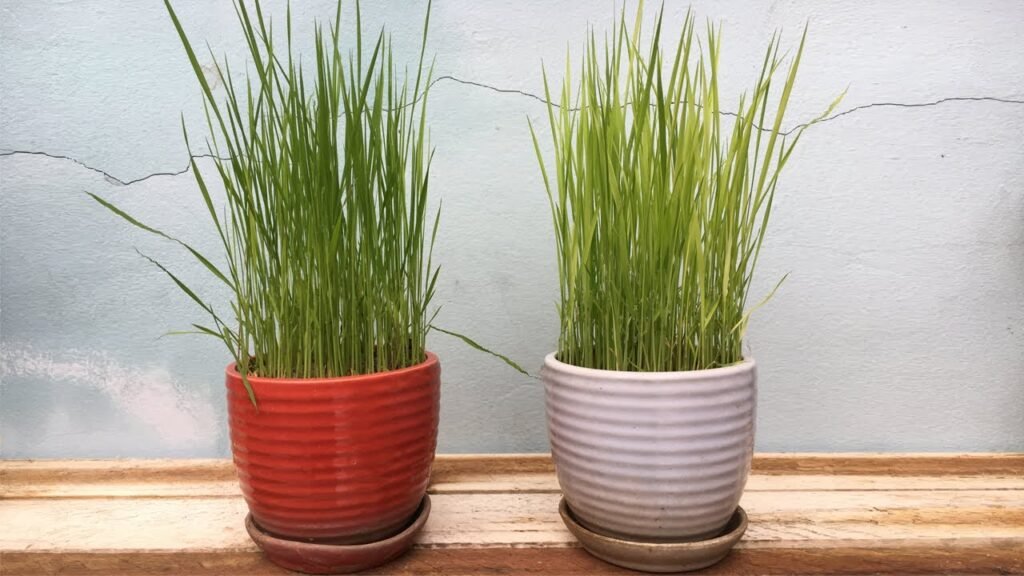
Even if you don’t have farmland, this method allows you to grow seedlings in small areas, such as balconies or patios.
4. Educational
Rice cultivation is a fascinating learning experience. Watching seeds germinate and grow teaches patience, observation, and agricultural knowledge.
Materials You’ll Need
You don’t need a fancy setup. Here’s what you’ll need:
- Old plastic bucket lid (large, shallow lids work best)
- Rice seeds (high-quality or organic preferred)
- Clean water
- Fine garden soil or potting mix
- Compost or organic fertilizer
- Small container for soaking seeds
- Spray bottle or gentle watering can
Optional: Transparent plastic cover to maintain humidity.
Step 1: Choose and Prepare Your Seeds
- Select healthy rice seeds, preferably from a trusted source.
- Soak seeds in clean water for 12–24 hours.
- This softens the seed coat and triggers germination.
- After soaking, drain the water and rinse the seeds.
Tip:
Discard seeds that float, as they are often unhealthy or non-viable.
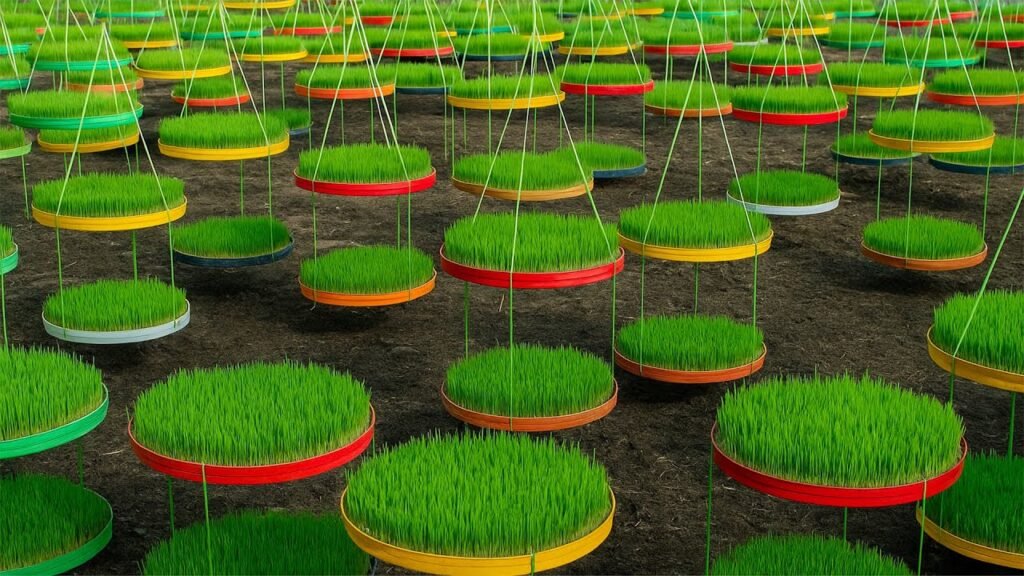
Step 2: Prepare the Bucket Lid
- Wash the bucket lid thoroughly to remove dirt or residues.
- Drill or punch small drainage holes if necessary. This prevents waterlogging while keeping soil moist.
- If desired, line the lid with a thin layer of wet newspaper or cloth to make transplanting easier and prevent soil from falling through the holes.
Step 3: Add Soil and Compost
- Fill the lid with a thin layer of nutrient-rich soil, about 2–3 cm deep.
- Mix soil with organic compost to provide essential nutrients for seedlings.
- Level the soil gently, ensuring even surface and slight moisture.
Tip:
Avoid making the soil too thick; rice seedlings grow best in shallow layers during early stages.
Step 4: Sow the Seeds
- Spread the soaked rice seeds evenly over the soil surface.
- Press seeds lightly into the soil to ensure good contact, but do not bury them too deep.
- Mist with water using a spray bottle to moisten seeds without washing them away.
Step 5: Maintain Moisture and Humidity
Rice seedlings thrive in humid and moist conditions:
- Spray water 2–3 times daily to keep soil consistently damp.
- Cover the bucket lid with a transparent plastic sheet to maintain high humidity, but ensure some ventilation to prevent mold.
- Avoid letting soil dry out, as this can stunt growth.
Step 6: Sunlight and Placement
- Place the bucket lid in a partially shaded area for the first few days.
- Once seedlings sprout (usually 3–5 days), gradually expose them to indirect sunlight for a few hours daily.
- Avoid placing them under direct harsh sunlight initially, as young seedlings are delicate.
Step 7: Fertilizing Seedlings
Even in small setups, rice seedlings benefit from nutrient boosts:
- Mix a small amount of compost tea or diluted organic fertilizer into the water once a week.
- Avoid excessive nitrogen, which can lead to weak stems and overly leafy seedlings.
Step 8: Watching Seedlings Grow
Within 7–10 days, your rice seedlings will:
- Develop small green leaves
- Grow upright and sturdy
- Become ready for transplantation into larger containers or fields
At this stage, seedlings should be 2–3 inches tall with 2–3 true leaves.
Tip:
Gently thin out weaker seedlings to allow the strongest to grow. This ensures healthy, uniform growth.
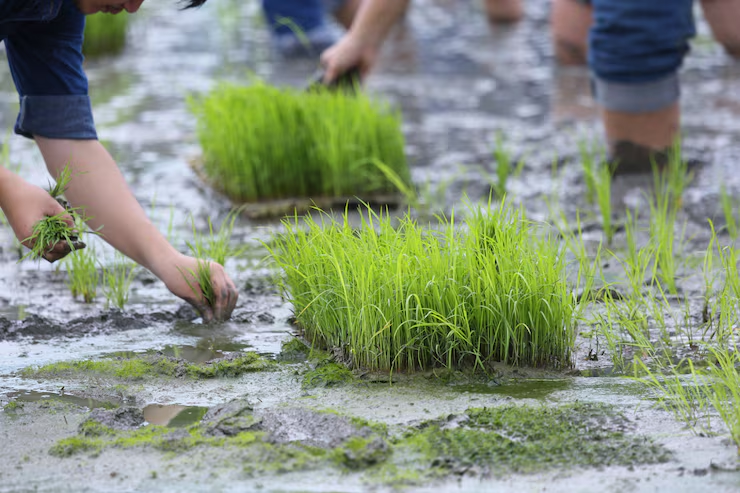
Step 9: Transplanting Seedlings
Once seedlings reach 2–3 inches:
- Prepare the planting area—this could be a larger container, raised bed, or a small flooded field.
- Carefully remove seedlings with roots intact. The bucket lid makes it easy to lift entire clusters.
- Space seedlings 10–15 cm apart in the new planting area.
- Water immediately after transplanting to reduce shock.
Step 10: Advantages of Using a Bucket Lid
Using a plastic bucket lid has surprising benefits:
- Cost-Effective: Recycles items lying around your home.
- Portable: Easy to move seedlings to shade or sunlight as needed.
- Space-Saving: Perfect for urban and small-space gardening.
- Controlled Growth: Provides uniform soil depth and water retention, resulting in stronger seedlings.
Pro Tips for Healthier Rice Seedlings
- Seed Quality: Always choose high-quality, disease-free seeds.
- Water Management: Keep soil moist but not waterlogged.
- Air Circulation: Prevent mold by ensuring some airflow under plastic covers.
- Regular Observation: Check daily for pests, mold, or weak seedlings.
- Organic Fertilizer: Use natural nutrients for better growth and healthier rice.
Why You’ll Regret Not Trying This Sooner
Starting rice seedlings at home is easier, cleaner, and more cost-effective than most people imagine. By using something as simple as an old plastic bucket lid, you can:
- Experience urban farming without a garden
- Ensure strong, healthy seedlings for transplantation
- Learn sustainable, low-cost agricultural techniques
- Save money while growing food you can trust
This method is fun, educational, and practical for hobbyists, beginners, or anyone curious about rice cultivation.
Final Thoughts
Rice cultivation doesn’t require large fields or professional equipment. With this innovative bucket lid method, you can start at home, whether for experimentation, small-scale production, or just the joy of gardening.
By recycling materials, maintaining proper moisture, and following the simple steps outlined above, you can grow healthy rice seedlings that will thrive when transplanted. This clever trick is easy, efficient, and rewarding, making it a must-try for anyone interested in home gardening.
Start today—turn your old plastic bucket lids into a thriving nursery of rice seedlings, and you’ll never look at household waste the same way again!