Bean sprouts are one of the healthiest and easiest foods you can grow at home. Packed with protein, vitamins, and enzymes, they are perfect for salads, stir-fries, sandwiches, and soups. Many people think growing sprouts at home is complicated or messy—but it doesn’t have to be. Using plastic bottles, you can grow white, plump, high-quality bean sprouts right on your kitchen counter or balcony, without soil, complicated setups, or expensive equipment.
In this article, we’ll take you step by step through a simple, efficient method to grow bean sprouts at home, using nothing but recycled plastic bottles, water, and seeds. By the end, you’ll know how to produce crisp, fresh, and abundant sprouts in just a few days.
🌱 Why Bean Sprouts Are Perfect for Home Growing
Bean sprouts are one of the fastest-growing vegetables, and they thrive in a controlled, soil-free environment. Here’s why they are perfect for home cultivation:
- Fast growth: Ready in 3–5 days
- Compact setup: Requires only a bottle or small container
- Nutritious: Rich in protein, fiber, vitamins A, C, and K
- Chemical-free: No pesticides or fertilizers needed
- Low maintenance: Minimal effort, perfect for beginners
With this method, even people without a garden can enjoy fresh, crunchy sprouts all year round.
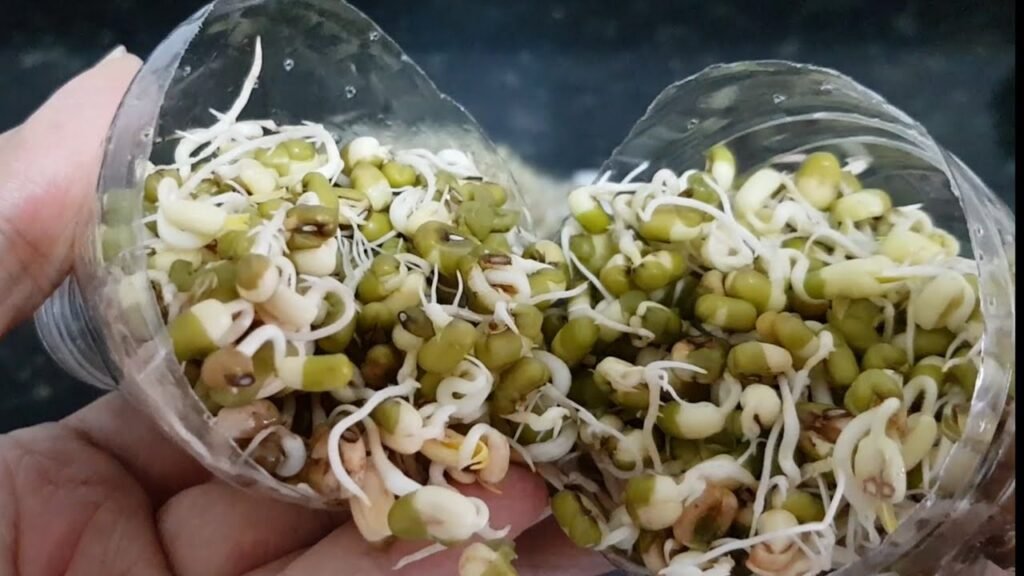
🫘 Step 1: Choose the Right Seeds
The type and quality of seeds determine the size and quality of your sprouts.
Best seeds for plump, white sprouts:
- Mung beans (most popular)
- Lentils
- Chickpeas
- Adzuki beans
Tip: Always choose fresh and organic seeds for optimal germination and healthy growth.
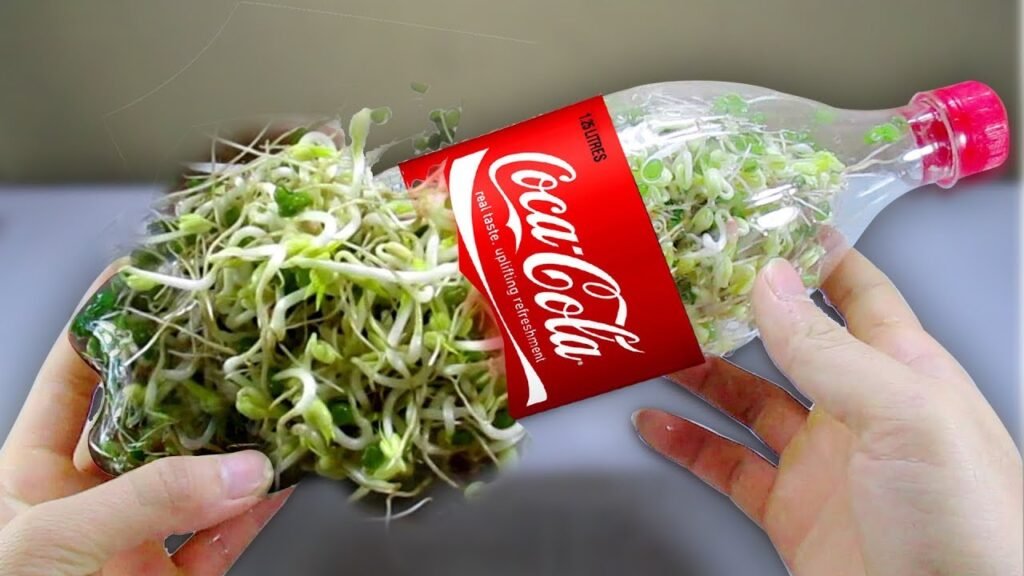
🥤 Step 2: Prepare Your Plastic Bottles
Recycled plastic bottles are perfect because they:
- Are easy to handle
- Allow observation of root growth
- Can be customized with drainage holes
How to prepare your bottle:
- Take a clean 1–2 liter plastic bottle.
- Cut the top portion (around 1/4 of the bottle) and invert it to act as a funnel.
- Punch small holes at the bottom of the inverted top to allow water drainage.
- Place the inverted top into the bottom half of the bottle, leaving a small space for water.
This simple setup creates a self-watering sprouting system that keeps seeds hydrated without overwatering.
💧 Step 3: Soak Seeds for Quick Germination
Before placing seeds in the bottle:
- Rinse them thoroughly with clean water.
- Soak the seeds in water for 6–12 hours depending on the type.
- Mung beans: 6 hours
- Chickpeas: 8–12 hours
Soaking activates germination, ensuring that your sprouts grow white, plump, and healthy.
🌿 Step 4: Place Seeds in the Bottle Setup
After soaking:
- Drain the seeds completely.
- Spread them evenly on the perforated top of your bottle.
- Pour a small amount of water in the bottom section—just enough to touch the base of the seeds.
Key tip: Seeds should not be submerged, as excessive water can cause rot. The bottle system allows seeds to absorb water gradually, keeping them moist and encouraging fast, uniform sprouting.
☀️ Step 5: Provide Ideal Conditions
Even though the system is simple, environmental conditions matter:
- Temperature: 20–25°C (ideal for germination)
- Light: Indirect sunlight; avoid direct sun, which can dry seeds
- Airflow: Keep the bottle in a ventilated area to prevent mold
These conditions ensure that sprouts grow plump, white, and crisp within just a few days.
🕒 Step 6: Daily Care for Maximum Yield
This method requires minimal effort, but a few small steps improve results:
- Check water levels in the bottom section and refill only if completely dry
- Rinse the sprouts once daily to maintain freshness and prevent odors
- Remove any seeds that fail to germinate or appear moldy
Because the bottle system controls moisture, you avoid constant watering while still achieving high-yield sprouts.
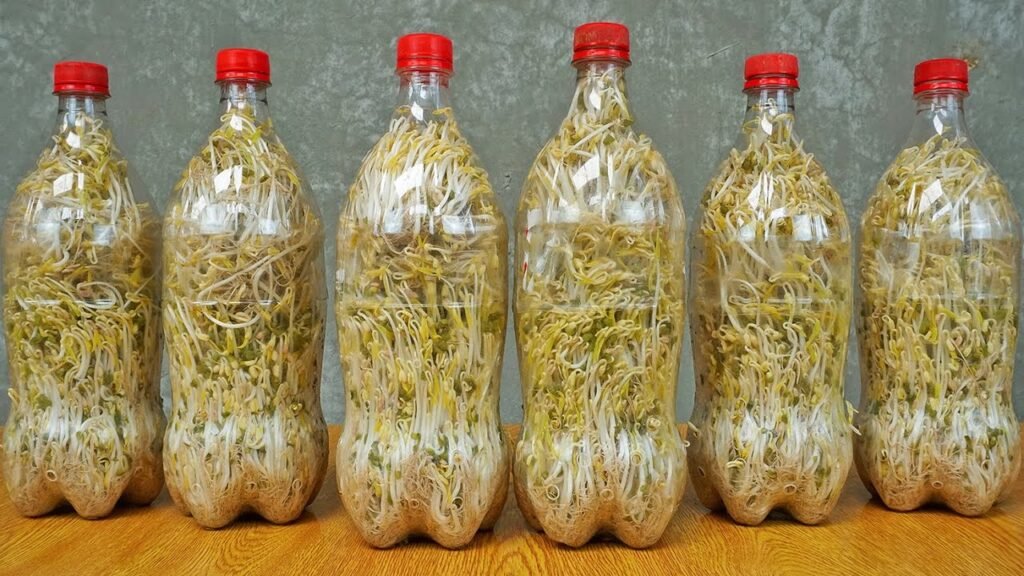
🌱 Step 7: Watch Your Sprouts Grow Quickly
Within 2–5 days, you’ll see the magic:
- Roots grow downward into the water section
- Stems grow upward, becoming white and plump
- Leaves start to emerge after 3–4 days
This fast, visible growth is one of the most satisfying aspects of home sprouting. You can literally see your fresh vegetables growing before your eyes.
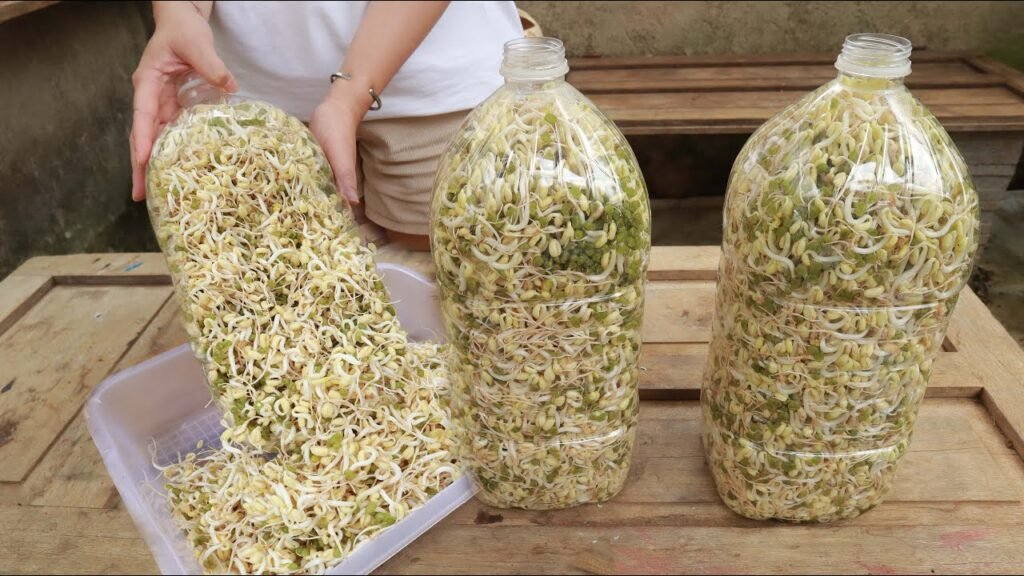
🍴 Step 8: Harvesting Bean Sprouts
Bean sprouts are best harvested when they are 2–5 inches long. Here’s how to do it:
- Carefully remove the top part of the bottle with sprouts.
- Rinse sprouts thoroughly in clean water.
- Cut or gently pull them from the base.
You now have fresh, crunchy, chemical-free sprouts ready for salads, stir-fries, soups, or sandwiches.
🌟 Step 9: Tips for Extra Plump, White Sprouts

1. Use fresh, high-quality seeds
Old seeds may grow slowly or produce weak sprouts.
2. Maintain proper moisture
Too much water leads to rot, too little slows growth.
3. Keep the setup in indirect sunlight
This prevents yellowing and ensures crisp, white stems.
4. Rinse occasionally
Even with minimal watering, rinsing every 24 hours keeps sprouts fresh and odor-free.
5. Avoid overcrowding
Spread seeds evenly in the bottle to maximize growth and yield.
🌿 Benefits of Homegrown Bean Sprouts
Homegrown bean sprouts are healthier and tastier than store-bought varieties:
- Rich in protein, fiber, vitamins, and antioxidants
- Improve digestion and immunity
- Chemical-free and freshly harvested
- Cost-effective and sustainable
By growing your own sprouts, you control every step, from seed quality to harvest, ensuring clean and nutritious vegetables for your family.
🏡 Step 10: Why Plastic Bottle Sprouting Is Perfect for Beginners
This method is ideal for beginners because:
- Requires minimal space (kitchen counter, balcony, or small shelf)
- Produces fast, high-yield sprouts in just a few days
- Simple, cheap, and sustainable
- Requires almost no maintenance
Even children can participate, making it a fun and educational home gardening project.
🍀 Conclusion: Easy, High-Yield Bean Sprouts with Minimal Effort
Growing bean sprouts at home doesn’t have to be messy, complicated, or time-consuming. Using plastic bottles, you can produce plump, white, nutrient-rich sprouts in just a few days with minimal effort and no soil.
From soaking seeds to harvesting fresh sprouts, this beginner-friendly method is perfect for anyone, even with no garden or previous gardening experience. You’ll enjoy fast-growing, high-yield, chemical-free sprouts that can be used in a variety of dishes, all grown right in your home.
Start today, and in less than a week, your kitchen will be filled with fresh, crisp, white bean sprouts — the ultimate combination of health, convenience, and satisfaction.