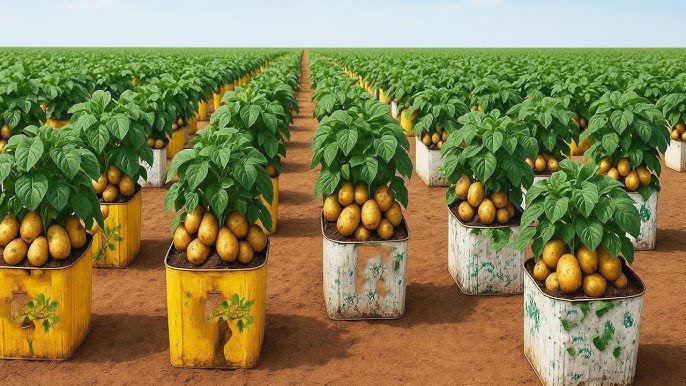
Potatoes are one of the most satisfying and versatile vegetables to grow at home. They’re nutritious, filling, and can be used in countless recipes. But what if you don’t have a backyard or garden space? The good news is that you can still grow tons of potatoes in small containers—from balconies, terraces, or even a corner of your patio.
This guide will show you step by step how to grow potatoes in containers, ensuring maximum yields from minimal space. By the end, you’ll be able to enjoy fresh, homegrown potatoes all season long.
Why Grow Potatoes in Containers?
Container potato gardening is perfect for urban gardeners, apartment dwellers, and small-space enthusiasts. Here’s why:
- Space-efficient: Ideal for balconies, terraces, patios, and small backyards
- High yield: Properly grown potatoes in containers can produce as much as a small garden bed
- Easy pest management: Reduced contact with soil pests and diseases
- Mobility: Containers can be moved to optimal sunlight or protected from harsh weather
- Soil control: You decide the soil type, nutrients, and moisture, ensuring healthy growth
Even a small container can yield dozens of potatoes if managed carefully.
Step 1: Selecting the Right Container
Choosing the right container is crucial for high-yield potato production.
Container Guidelines
- Size: Minimum 12–15 inches deep and 12–15 inches wide per plant
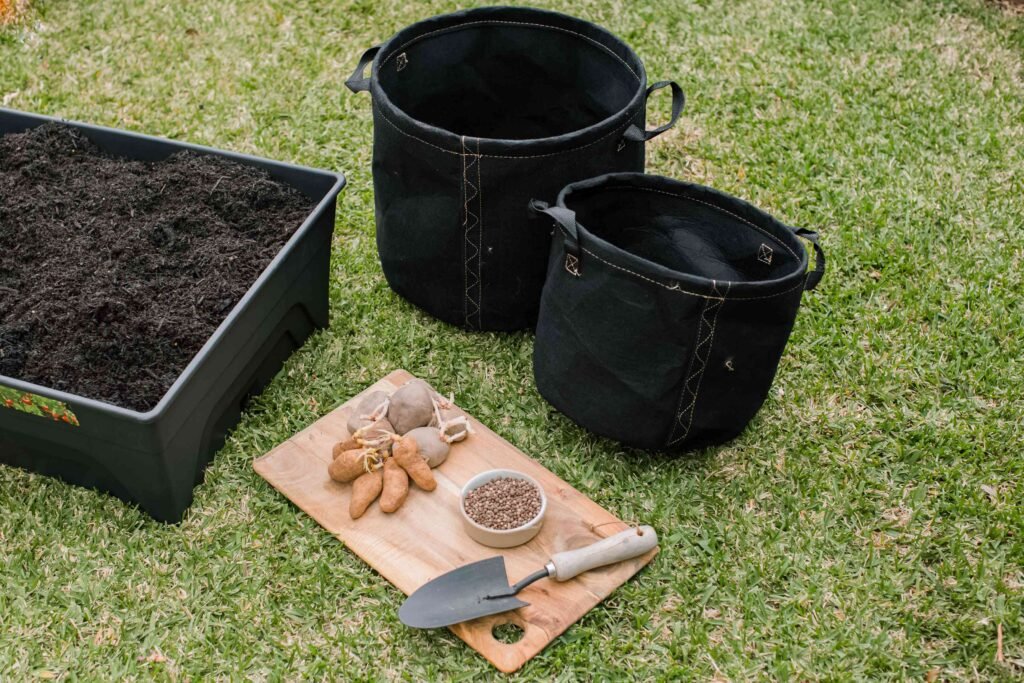
- Material: Plastic tubs, grow bags, buckets, or any sturdy container
- Drainage: Ensure 4–6 drainage holes at the bottom
- Shape: Tall containers allow deeper root and tuber growth
Pro Tip: Fabric grow bags are excellent because they allow air pruning of roots and prevent tuber deformation.
Step 2: Preparing the Container
- Wash the container thoroughly to remove residues.
- Add a layer of gravel or small stones at the bottom to improve drainage.
- Position the container in a sunny area that receives 6–8 hours of sunlight daily.
- Fill the container with fertile soil mix (see next step).
Proper preparation ensures that your potatoes have enough space and nutrients to grow big, healthy tubers.
Step 3: Preparing the Soil Mix
Potatoes are heavy feeders and require loose, nutrient-rich soil for optimal growth.
Ideal Soil Mix
- 50% garden soil
- 30% compost or vermicompost
- 20% sand or cocopeat for drainage
Optional Additions
- Wood ash or potash to boost tuber development
- Bone meal to strengthen roots
- Neem cake to prevent pests
Mix the soil thoroughly to create a light, airy, and fertile environment for your potatoes.
Step 4: Selecting the Right Potato Seed
Choose certified, disease-free seed potatoes for the best results.
Guidelines
- Select medium-sized tubers, free of cuts or bruises
- Prefer varieties suited for container growing (e.g., dwarf or bush types)
- Cut large tubers into pieces, each with at least 1–2 “eyes”
Tip: Let cut seed pieces dry for 1–2 days before planting to prevent rot.
Step 5: Planting Potatoes in Containers
Planting in containers is slightly different from a garden bed, but the principle is the same.
Steps
- Fill the container with 4–5 inches of soil.
- Place the seed potato (eye up) on the soil.
- Cover with 2–3 inches of soil.
- Water gently.
As plants grow, gradually add more soil (a process called hilling) to cover the stems, encouraging more tuber formation.
Step 6: Sunlight Requirements
Potatoes need full sun for best growth:
- Minimum 6 hours/day
- Optimal: 7–8 hours/day
- Ensure container placement avoids shading from walls or trees
Proper sunlight ensures vigorous foliage, strong stems, and healthy tuber development.
Step 7: Watering Potatoes in Containers
Consistent moisture is key to big, uniform potatoes.
Watering Guidelines
- Keep soil evenly moist, especially during tuber formation
- Water at the base to prevent leaf diseases
- Avoid waterlogging; excess water can rot tubers
- Mulch with straw or dry leaves to retain moisture and control weeds
Pro Tip: Reduce watering slightly when plants are nearing harvest to avoid splitting the tubers.
Step 8: Fertilizing for High Yield
Potatoes require regular feeding to produce plump, high-yield tubers.
Fertilizer Schedule
- Every 2 weeks: Add compost or vermicompost
- Every 3 weeks: Use liquid fertilizer (compost tea, cow dung water, or seaweed extract)
- Once a month: Apply potash (wood ash, banana peel fertilizer) to enhance tuber size
Balanced nutrition ensures more and bigger potatoes from each container.
Step 9: Hilling for Maximum Yield
Hilling is critical for container potato gardening.
- As stems grow, add soil or compost to cover them up to 3–4 inches
- Repeat hilling every 2–3 weeks until the container is almost full
- This encourages the plant to produce more tubers along the buried stem
Proper hilling can double or triple your potato yield compared to un-hilled plants.
Step 10: Pest and Disease Management
Container-grown potatoes are less prone to pests, but some issues may arise:
Common Problems
- Aphids
- Colorado potato beetles
- Fungal infections like blight
Solutions
- Spray neem oil or organic insecticides
- Remove damaged leaves immediately
- Maintain proper spacing for airflow
- Avoid overhead watering to prevent fungal problems
Healthy plants produce clean, disease-free potatoes consistently.
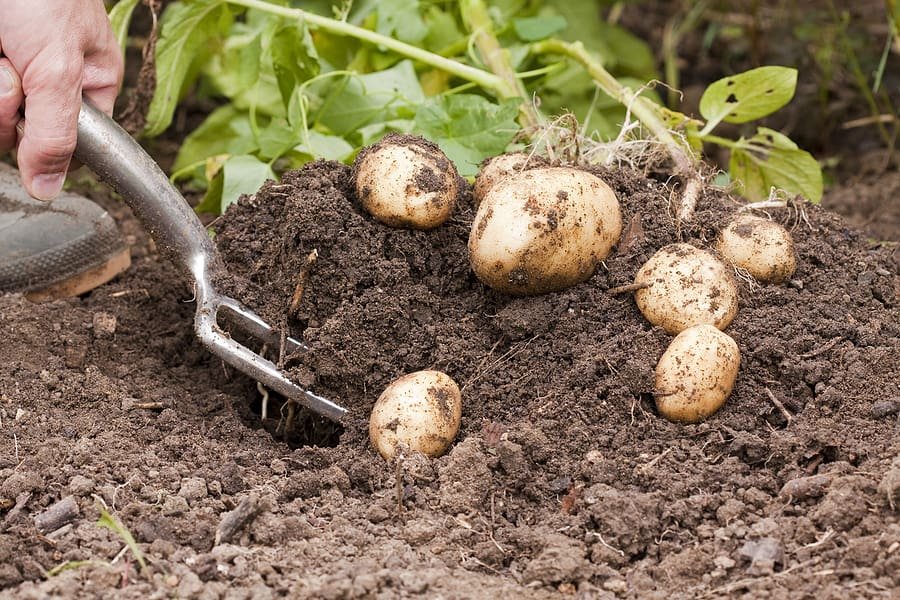
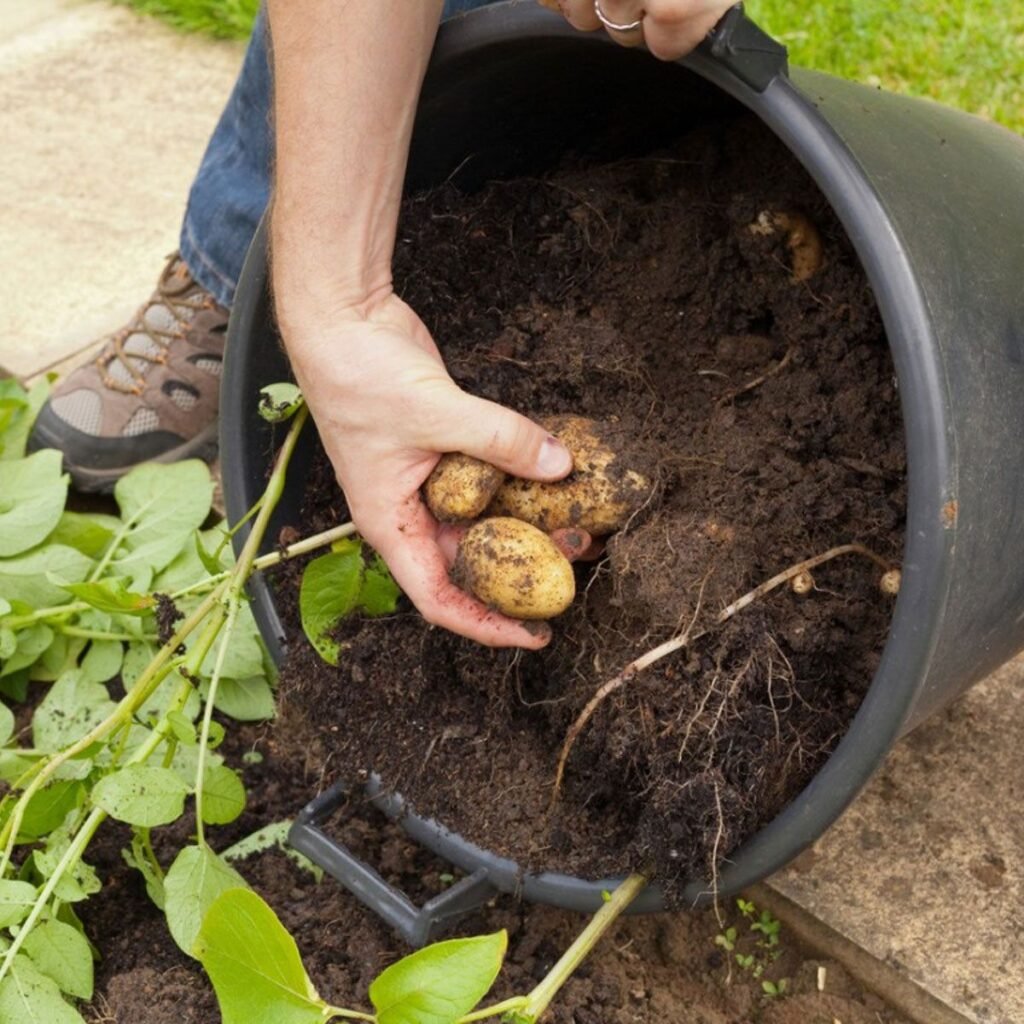
Step 11: Harvesting Potatoes
Potatoes are ready for harvest when foliage begins to yellow and die back.
Harvesting Tips
- Carefully remove the soil to avoid damaging tubers
- Separate tubers gently
- Allow to dry in a shaded, ventilated area for 1–2 days before storage
- Early harvest (new potatoes) can be done 8–10 weeks after planting
Expected Yield: With proper care, each container can yield 5–10 kg of potatoes depending on size and variety.
Advantages of Growing Potatoes in Small Containers
- No garden required; perfect for urban spaces
- Space-efficient and portable
- Control over soil quality and nutrients
- Reduced pest problems
- Easy maintenance, watering, and harvesting
- High yields even in limited space
Even a small balcony with 2–3 containers can provide a substantial potato harvest for the family.
Final Thoughts: Tons of Potatoes from Tiny Spaces
Container potato gardening is simple, cost-effective, and highly productive. With the right container, soil, seed potatoes, sunlight, and care, even a small space can yield tons of potatoes throughout the season.
This method transforms terraces, balconies, and patios into productive potato farms, giving you fresh, homegrown potatoes without a backyard garden. With proper attention to watering, fertilization, and hilling, you can enjoy bountiful, high-quality potatoes all year round.