Bean sprouts are a nutritional powerhouse. They’re crunchy, fresh, and packed with vitamins, minerals, and proteins. Yet, many people shy away from growing their own sprouts at home, thinking it’s complicated, messy, or time-consuming.
The truth is, there’s a super-simple, foolproof method for growing bean sprouts that anyone can do—whether you live in a small apartment, a dorm room, or a house with limited space. Once you try this method, you’ll wonder why you didn’t start sooner. Fresh, clean, and crunchy sprouts will be available at your fingertips almost every day.
In this article, we’ll explore why bean sprouts are amazing for health, the step-by-step method for growing them at home, tips for maximizing yield, and how to enjoy them in your daily meals.
Why Grow Bean Sprouts at Home?

Before diving into the method, let’s understand why homegrown bean sprouts are worth the effort:
1. Nutrient-Rich
Bean sprouts are rich in:
- Protein
- Fiber
- Vitamins A, C, and K
- Minerals like iron, magnesium, and potassium
They are perfect for anyone looking to boost their health naturally.
2. Economical
Buying fresh bean sprouts regularly can get expensive. Growing your own at home costs almost nothing after the initial setup.
3. Fresh and Clean
Store-bought sprouts can sometimes be contaminated. Growing them at home ensures:
- No chemicals
- No pesticides
- Clean, safe consumption
4. Quick and Easy
You don’t need soil, a garden, or even much space. Sprouts are ready to eat in just 4–6 days, making them perfect for busy lifestyles.
The Bean Sprout Method That’s Surprisingly Easy

This method works with almost any legume seeds, like mung beans, lentils, chickpeas, or soybeans. The key is simple soaking and rinsing, which triggers sprouting in a controlled, hygienic environment.
Step 1: Choose the Right Seeds
The best seeds for sprouting are:
- Mung beans – crunchy and sweet
- Chickpeas – slightly nutty, great for salads
- Lentils – soft sprouts, mild flavor
- Soybeans – firm and protein-rich
Tip:
Avoid treated seeds from stores. Use organic or raw seeds meant for sprouting or planting.
Step 2: Soak the Seeds
- Measure the amount of seeds you want to sprout. Usually, 1/4 to 1/2 cup of seeds is enough for 2–3 days of fresh sprouts.
- Rinse the seeds thoroughly with clean water.
- Soak the seeds in a bowl of water for 8–12 hours.
- After soaking, drain the water completely.
Soaking softens the seed coat and activates germination. Overnight soaking works best if you sprout in the morning.
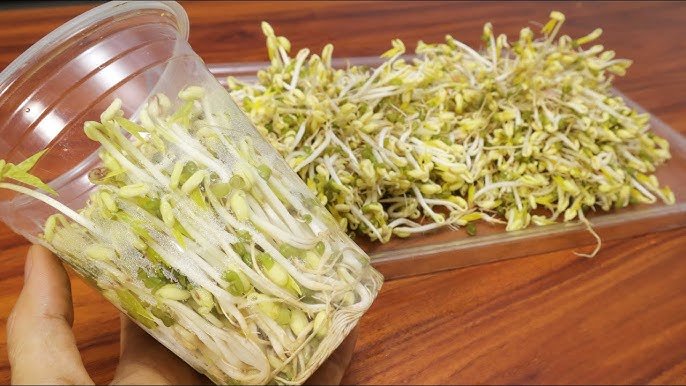
Step 3: Prepare a Simple Sprouting Container
You don’t need fancy trays. Simple household items work perfectly:
- A glass jar with a mesh lid or cloth cover
- A plastic sprouting tray
- A small colander inside a bowl
Key Points:
- Ensure good air circulation
- Keep the seeds off direct sunlight
- Avoid containers that trap water at the bottom
Step 4: Start the Sprouting Process
- Place the drained seeds in the container.
- Cover the container with a cloth or lid with holes for airflow.
- Store the container in a dark, cool place (20–25°C / 68–77°F).
Rinse Twice Daily
- Rinse seeds gently with fresh water morning and evening
- Drain completely after each rinse
- Proper rinsing prevents bacterial growth and ensures crisp sprouts
Within 1–2 days, tiny shoots will start to appear.
Step 5: Watch the Sprouts Grow
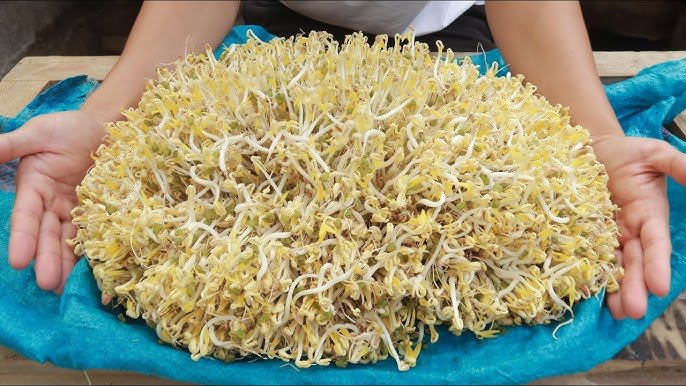
- By day 3–4, most beans will have white, crunchy shoots 2–3 cm long.
- By day 5–6, sprouts reach full length (up to 5 cm) and are ready for consumption.
You’ll notice a fresh, nutty aroma and vibrant white-green color.
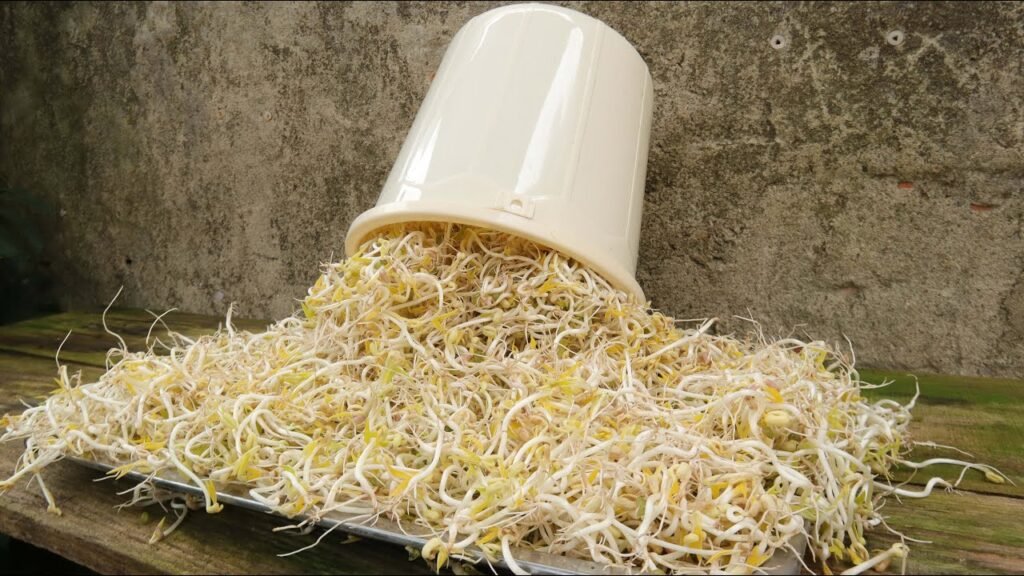
Step 6: Harvesting Your Bean Sprouts
- Simply drain the sprouts completely.
- Rinse once more before eating.
- Trim any long roots if desired.
- Store in a covered container in the fridge for up to 3–4 days.
Tip:
Do not store in water; this can make sprouts soggy and reduce shelf life.
Step 7: Continuous Sprout Supply
One of the best things about this method is that you can start a new batch daily, ensuring a continuous supply.
- Soak seeds every day or every other day.
- Rotate containers to keep sprouts growing fresh.
- Use larger jars if you want more sprouts per batch.
Additional Tips for Crisp, Sweet Bean Sprouts
1. Use Clean Water
Always rinse with filtered or boiled water. Contaminated water reduces shelf life and safety.
2. Keep Away from Direct Sunlight
Too much sunlight makes sprouts bitter or yellow. Indirect light is enough.
3. Avoid Overcrowding
Too many seeds in one jar reduces air circulation and can cause mold. Use loosely packed seeds.
4. Use Natural Flavor Enhancers
Add a pinch of salt or lemon juice when rinsing for slightly flavored sprouts.
5. Experiment with Seed Mixes
Mix mung beans and lentils for crunchy, multi-flavored sprouts.
Why This Method Works So Well
- Controlled moisture: Sprouts get just enough water to grow.
- Airflow: Reduces mold and bacteria.
- Darkness: Prevents bitterness and ensures sweet, crisp sprouts.
- Minimal effort: Only 2 rinses daily; everything else is hands-off.
No soil, no fertilizers, no complicated trays—just clean, fast-growing sprouts.
How to Enjoy Your Bean Sprouts
Bean sprouts are extremely versatile:
Raw
- Add to salads
- Include in sandwiches or wraps
- Serve as fresh garnish
Cooked
- Stir-fry with garlic and soy sauce
- Add to soups or stews
- Mix in noodle or rice dishes
They remain nutrient-dense even when lightly cooked, making them perfect for everyday meals.
Health Benefits of Homegrown Bean Sprouts
- Boost immunity with vitamins C and A
- Aid digestion with high fiber content
- Increase protein intake, especially for vegetarians
- Enhance metabolism and energy
- Detox naturally with antioxidants
Fresh homegrown sprouts are healthier than store-bought ones because you control water, hygiene, and growth conditions.
Final Thoughts
Growing bean sprouts at home is one of the easiest, fastest, and most rewarding gardening activities. With this simple method, you’ll have clean, fresh, crunchy sprouts ready in less than a week.
Even beginners or those without a garden can enjoy this healthy, sustainable food source. The best part? Once you start, you’ll always have sprouts at your fingertips without the hassle of soil, pests, or heavy maintenance.
Stop buying store-bought sprouts that spoil quickly—grow your own using this simple, foolproof method, and you’ll never look back.