Garlic is more than just a flavorful addition to your cooking — it’s a powerhouse of health benefits. Rich in antioxidants, vitamins, and minerals, garlic boosts immunity, fights infections, and adds a delicious aroma to any dish. But did you know you can grow garlic at home quickly and easily by planting just the base of the clove? Yes! With this simple technique, even beginners can cultivate plump, fresh garlic bulbs without a garden or complicated equipment.
In this article, we’ll guide you step by step on how to grow garlic from the base, share expert tips to speed up growth, and show you how to get high-yield, healthy garlic harvests at home.
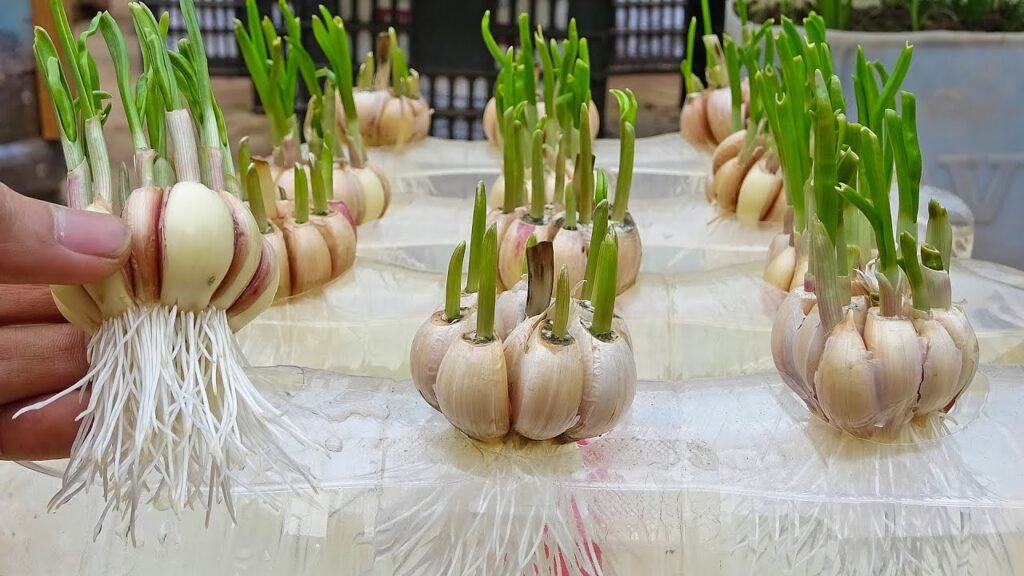
🌱 Why Growing Garlic from the Base Works Best
Most people think growing garlic requires planting the whole clove or waiting months for harvest. But planting only the base of the garlic clove has several advantages:
- Faster sprouting: The base contains the meristem, which triggers quick root and shoot development.
- Stronger plants: Targeted growth from the base produces healthy, robust bulbs.
- Easy for beginners: No need for complicated soil preparation or deep planting.
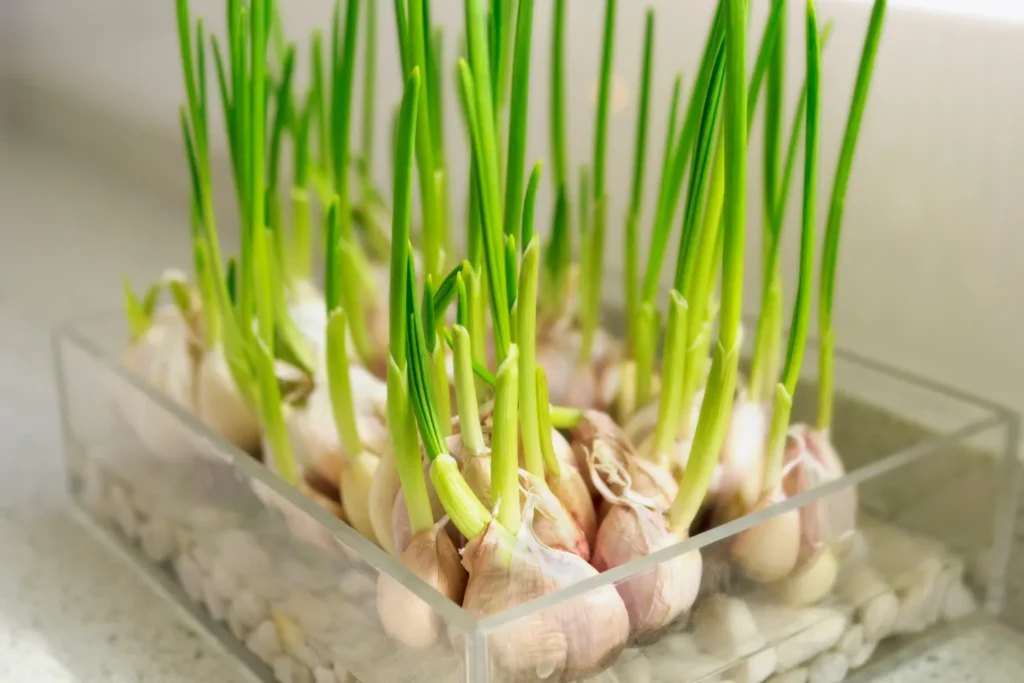
- Compact growth: Perfect for small pots, containers, or balcony gardening.
This method maximizes efficiency while producing garlic that’s large, flavorful, and fresh.
🧄 Step 1: Select High-Quality Garlic
Successful garlic growth starts with choosing the right cloves:
- Use fresh, firm, healthy garlic bulbs.
- Avoid soft, moldy, or dried-out cloves.
- Organic garlic works best because it hasn’t been treated with growth inhibitors.
Tip: Large cloves produce bigger bulbs, while small cloves may grow slower.
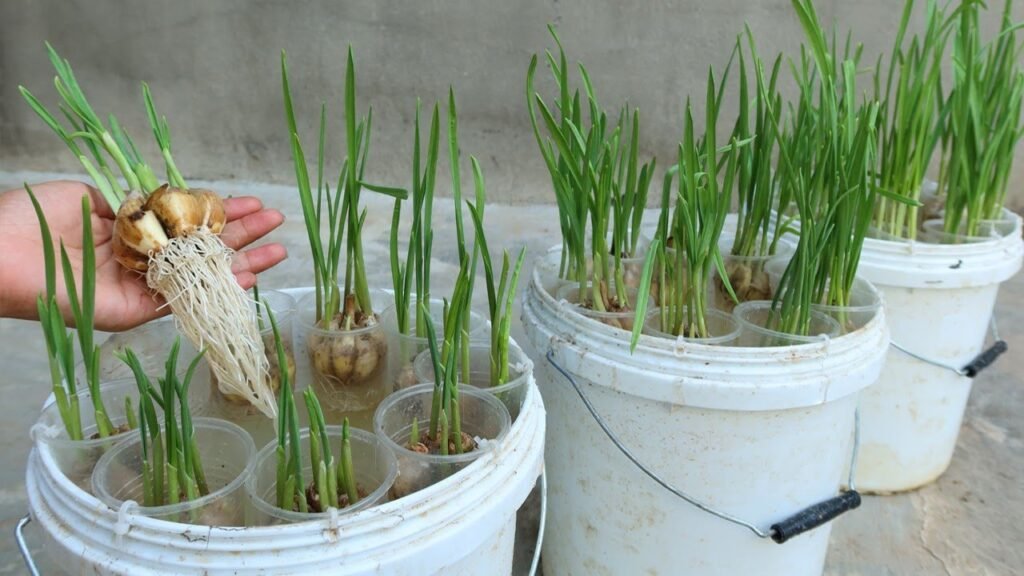
🪴 Step 2: Prepare Your Container or Garden Bed
You can grow garlic in:
- A garden bed
- Large pots or containers
- Balcony boxes or raised beds
Soil requirements:
- Well-draining, loose soil
- Slightly acidic to neutral pH (6.0–7.0)
- Rich in organic matter or compost
If using a container, ensure it is at least 6–8 inches deep to accommodate root growth.
🌿 Step 3: Separate Cloves and Prepare Bases
- Separate the garlic bulb into individual cloves.
- Trim any damaged or dried tips.
- Identify the base of each clove — this is the flat side that attaches to the bulb.
- Leave the base intact; this is the part you will plant.
Pro tip: Planting the base correctly ensures roots grow downward and shoots grow upward efficiently.
🌱 Step 4: Planting the Garlic Base
Follow these steps for fast and healthy growth:
- Make a small hole in the soil or container, about 1–2 inches deep.
- Place the garlic base flat side down (root side down).
- Cover lightly with soil, leaving the top slightly exposed.
- Space cloves 3–4 inches apart to allow room for growth.
Tip: Planting at the right depth prevents rot while ensuring fast root development.
💧 Step 5: Watering for Quick Sprouts
Garlic needs consistent moisture but not soggy soil. Overwatering can cause rot.
- Water immediately after planting.
- Keep soil moist but not waterlogged during sprouting.
- Reduce watering slightly as shoots emerge.
Secret: Even beginners can grow garlic quickly by maintaining a slightly damp environment, especially in containers.
☀️ Step 6: Provide Optimal Light and Temperature
Garlic grows best with:
- 6–8 hours of sunlight daily
- Well-drained soil and moderate warmth
If planting in a cooler region, use pots indoors near a sunny window or under grow lights. Garlic prefers temperatures of 15–25°C for optimal sprouting and growth.
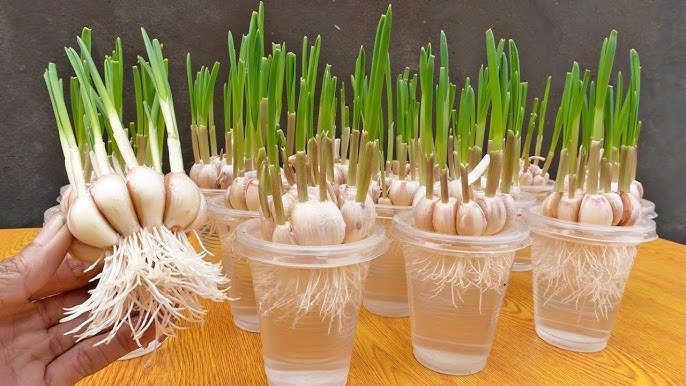
🕒 Step 7: Watch Your Garlic Grow
After planting the base:
- 7–10 days: Shoots emerge from the soil
- 2–3 weeks: Roots strengthen and shoots grow taller
- 6–8 weeks: Plants are established and growing vigorously
You’ll see how planting the base accelerates growth compared to traditional methods.
🌿 Step 8: Fertilizing for High-Yield Garlic
Healthy soil is key for plump, flavorful bulbs. Fertilize as follows:
- 2 weeks after planting: Add a thin layer of compost or organic fertilizer
- During growth: Use a nitrogen-rich fertilizer for strong leaves
- Before bulb formation: Apply potassium and phosphorus to boost size
Tip: Balanced fertilization ensures garlic develops both large bulbs and healthy greens.
✂️ Step 9: Harvesting Garlic
Timing is critical for a successful harvest:
- Garlic is usually ready 90–120 days after planting
- Leaves start turning yellow and dry—this is the sign bulbs are mature
- Carefully lift the bulbs using a small shovel or hand tool
- Cure bulbs in a dry, ventilated area for 2–3 weeks before storage
Proper harvesting and curing preserve flavor and prolong shelf life.
🌟 Step 10: Tips for Maximum Yield and Healthy Garlic
1. Use large, healthy cloves
Bigger bases grow larger bulbs.
2. Avoid waterlogging
Overwatering leads to rot; maintain slightly damp soil.
3. Mulch for moisture retention
Dry leaves or straw prevent soil drying and protect roots.
4. Rotate crops or containers
Avoid planting garlic in the same soil repeatedly to reduce pests.
5. Remove weeds and pests
Keep the area clean for strong, uncontested growth.
🥗 Benefits of Homegrown Garlic
Growing garlic at home is not just convenient — it’s also healthier and more sustainable:
- Chemical-free: No pesticides or preservatives
- High nutrition: Rich in antioxidants, vitamins, and minerals
- Cost-effective: Save money compared to buying fresh garlic
- Year-round supply: Easy to store after curing
- Satisfying and sustainable: Enjoy fresh garlic straight from your garden
🏡 Step 11: Why Garlic Base Planting Is Perfect for Beginners
Planting garlic by the base is ideal for beginners because:
- Simple method: No complicated soil preparation or tools needed
- Faster results: Shoots appear quicker than full-clove planting
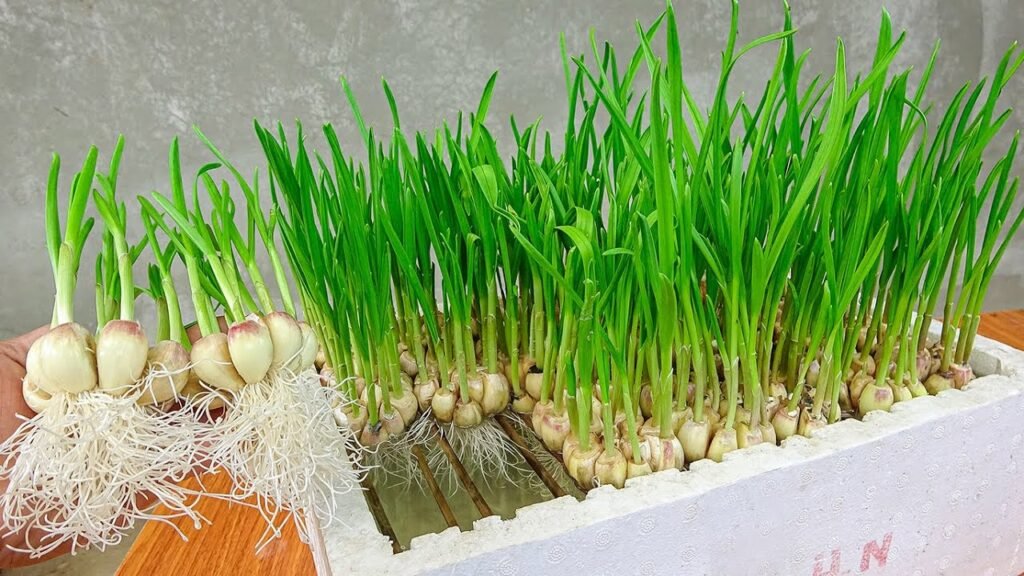
- Compact growth: Suitable for small containers or balcony gardens
- High yield: Plump, white, flavorful bulbs with minimal effort
Even if you’ve never grown garlic before, this method guarantees healthy, productive results.
🍀 Conclusion: Quick, Easy, and High-Yield Garlic at Home
Growing garlic at home doesn’t have to be difficult or time-consuming. By planting the base of the clove, you can enjoy:
- Faster sprouting
- Robust, plump bulbs
- Minimal maintenance
- High-yield, nutritious harvests
Whether you have a small balcony, a backyard, or a few pots indoors, this method is perfect for beginners and experienced gardeners alike.
Start today, and in just a few months, you’ll be enjoying fresh, flavorful, and homegrown garlic straight from your own kitchen — a simple, healthy, and satisfying addition to your meals.