Lavender is one of the most beloved herbs in the world, prized for its fragrance, beautiful purple flowers, and calming properties. From gardens and balconies to indoor pots, lavender adds charm and aroma to any space. But buying new plants every season can be costly. The good news is that you can root lavender at home quickly and easily, multiplying your plants without spending a fortune.
This guide will walk you through step-by-step methods, essential care tips, and secrets to growing healthy lavender from cuttings, ensuring strong, fragrant plants year-round.
🌿 Why Lavender Is Perfect for Rooting
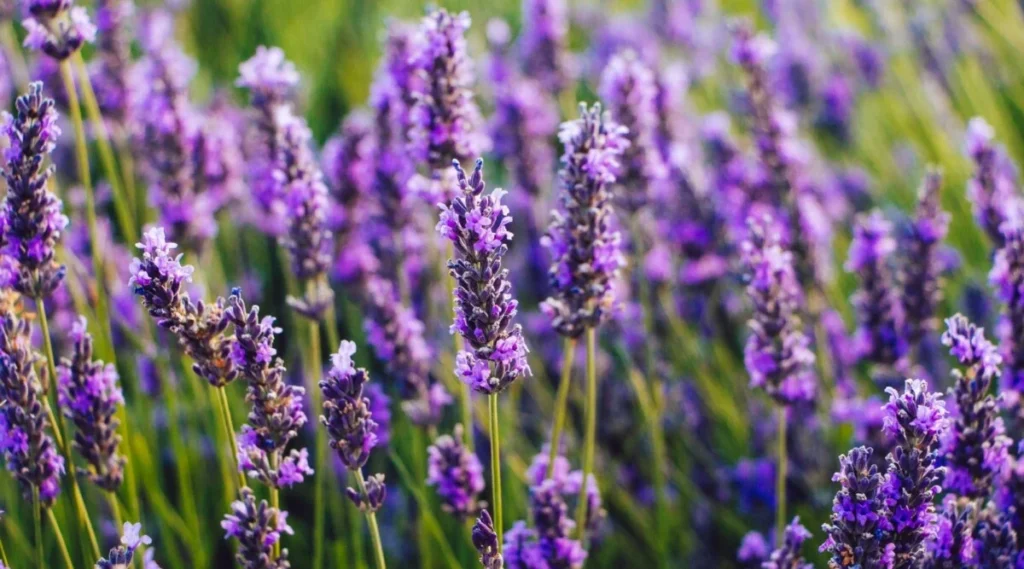
Lavender (Lavandula spp.) is a hardy herb that thrives in sunny locations and well-drained soil. Here’s why it’s ideal for propagation:
- Easy to root from cuttings: Even small stems can grow into full plants.
- Low maintenance: Once established, lavender is drought-tolerant and pest-resistant.
- Multiple uses: Aromatherapy, culinary dishes, decorations, and essential oils.
- Fast results: With proper care, rooted lavender establishes quickly.
Rooting lavender is not only cost-effective, it also allows you to expand your garden or create gifts for friends and family.
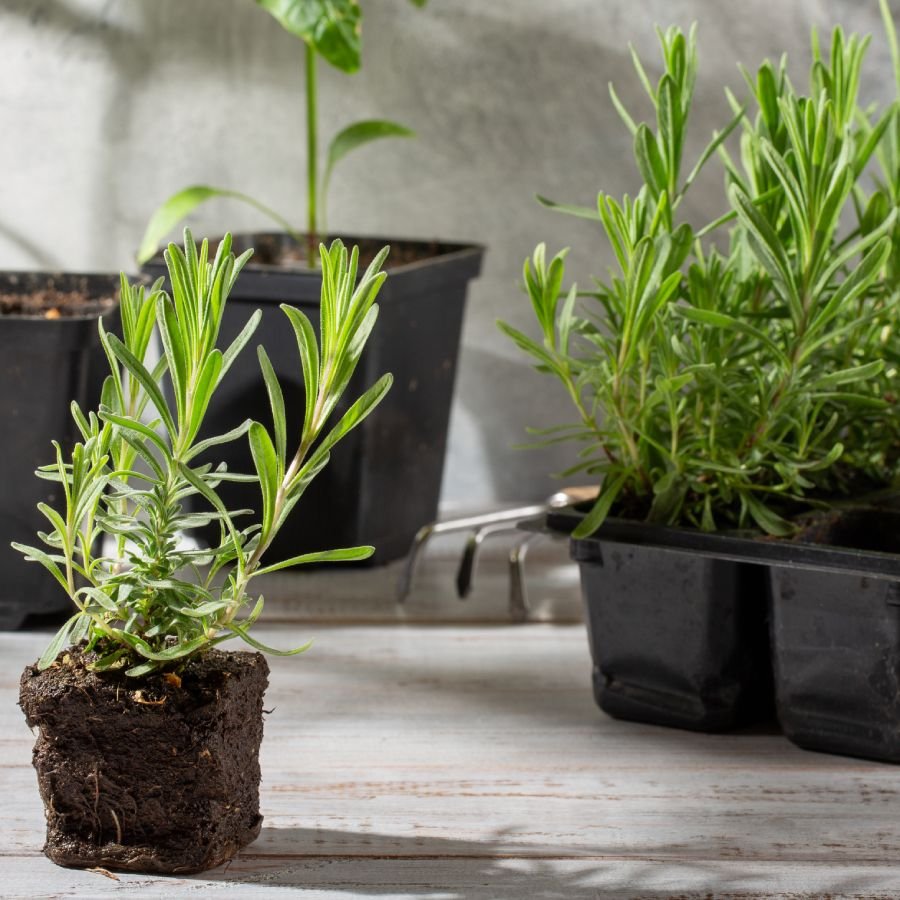
🌱 Step 1: Choosing the Right Lavender Cuttings
Selecting healthy stems is critical for successful rooting:
- Choose new, softwood or semi-hardwood cuttings from a healthy lavender plant.
- Cut 10–15 cm long stems with no flowers, as blooms reduce rooting energy.
- Avoid woody, old stems—they root slowly and often fail.
💡 Pro Tip: Cut early in the morning when the plant is well-hydrated for the best success rate.
🌿 Step 2: Preparing Lavender Cuttings
Once you have selected your stems:
- Trim the cutting: Remove the lower 3–5 cm of leaves to expose the nodes where roots will develop.
- Optional rooting hormone: Dip the cut end into powdered or liquid rooting hormone to stimulate faster root growth.
- Keep cuttings moist until planting.
💡 Secret: Even without rooting hormone, lavender cuttings root successfully if kept in the right environment.
🌱 Step 3: Choosing the Right Medium
Lavender thrives in well-draining soil, especially during propagation:
- Mix equal parts sand and perlite, or use a light seed-starting mix.
- Avoid heavy, clay soils that retain water, as this can cause root rot.
- Use small pots or trays with drainage holes for easy monitoring of cuttings.
💡 Tip: Sterilize the soil or medium to reduce fungal infections.
🌿 Step 4: Planting Lavender Cuttings
Follow these steps to plant your cuttings:
- Insert the cuttings into the medium 3–5 cm deep, making sure the leaf nodes are covered.
- Firm the soil gently around the cutting to provide stability.
- Water lightly to settle the soil.
💡 Secret: Avoid overwatering—too much moisture encourages rot rather than root development.
🌱 Step 5: Creating the Right Environment for Rooting
Lavender cuttings root best under controlled conditions:
- Light: Place cuttings in bright, indirect sunlight. Direct sun can stress new cuttings.
- Temperature: Maintain 20–25°C (68–77°F) for optimal rooting.
- Humidity: Cover cuttings with a transparent plastic bag or dome to maintain moisture.
- Airflow: Remove the cover briefly every day to prevent mold.
💡 Tip: Maintaining warmth and humidity without waterlogging is the key to fast rooting.
🌿 Step 6: Watering and Care During Rooting
Proper hydration is essential:
- Mist cuttings lightly every 2–3 days to keep leaves hydrated.
- Avoid puddles or soggy soil; lavender prefers slightly moist conditions during rooting.
- Monitor daily for signs of mold or fungal infection and remove affected leaves immediately.
💡 Secret: Gentle care in this stage significantly increases rooting success.
🌱 Step 7: Rooting Time and Signs of Success
Lavender cuttings typically take 3–6 weeks to develop roots, depending on the variety and environment.
Signs your lavender is rooting successfully:
- New growth appears at the top of the cutting
- Resistance is felt when gently tugging the cutting
- Roots may become visible through clear containers
💡 Tip: Patience is key—disturbing the cuttings too early can cause failure.
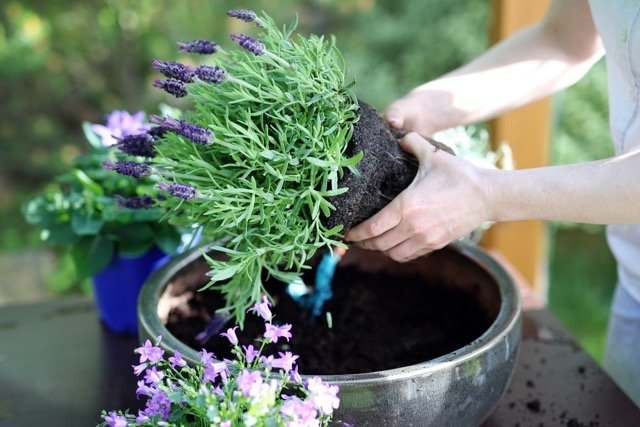
🌿 Step 8: Transplanting Rooted Lavender
Once the cuttings have developed strong roots:
- Prepare a well-draining potting mix (garden soil + sand + compost).
- Gently remove cuttings from the propagation tray.
- Plant in individual pots, spacing roots properly.
- Water lightly and place in partial sunlight for the first few days.
💡 Secret: Gradually expose plants to full sun over 1–2 weeks to prevent shock.
🌱 Step 9: Ongoing Care for New Lavender Plants
Newly rooted lavender needs proper care to thrive:
- Watering: Water moderately until established; afterward, reduce frequency as lavender is drought-tolerant.
- Sunlight: Full sun (6–8 hours/day) promotes healthy growth and blooms.
- Fertilization: Use a light, balanced fertilizer or compost during the growing season.
- Pruning: Trim stems lightly to encourage bushy growth and prevent legginess.
💡 Tip: Lavender grows best in slightly alkaline soil; adding a small amount of lime can help in acidic regions.
🌿 Step 10: Common Problems and Solutions
- Cuttings rot: Caused by overwatering or poor drainage. Solution: use well-draining soil and water sparingly.
- Yellowing leaves: Often indicates too much moisture or insufficient sunlight. Adjust accordingly.
- Slow growth: Ensure warmth, light, and humidity are optimal.
- Pests: Aphids or spider mites may attack. Spray with neem oil or gently wash leaves.
💡 Secret: Healthy cuttings result in hardy, fragrant plants that will bloom reliably year after year.
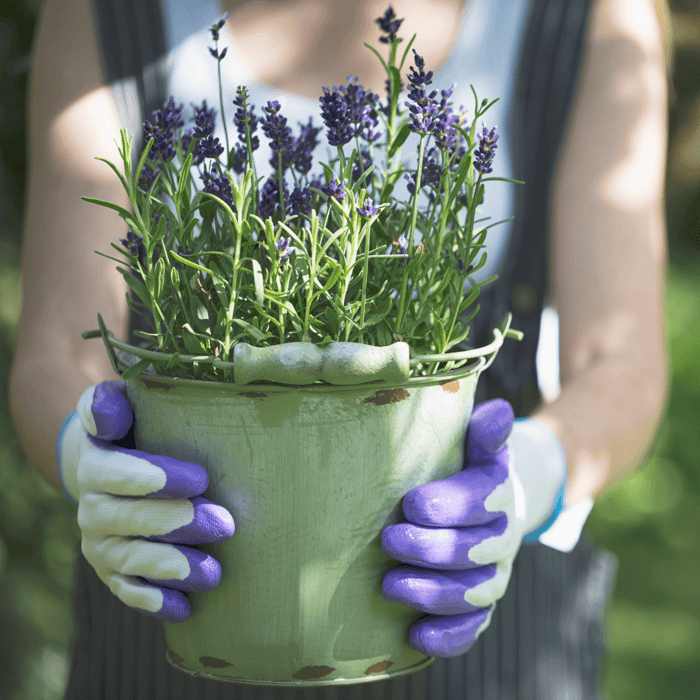
🌱 Step 11: Propagation Benefits and Tips
Rooting lavender has several advantages:
- Cost-effective: One plant can produce multiple new plants in a season.
- Customization: Propagate your favorite varieties repeatedly.
- Gifting: Newly rooted plants make perfect gifts for friends and family.
- Versatility: Use rooted lavender for garden beds, pots, or decorative arrangements.
💡 Pro Tip: Propagate during spring or early summer for the fastest results.
🌿 Step 12: Styling and Planting Ideas
Once established, lavender enhances your home or garden:
- Borders and pathways: Lavender’s fragrance and color make beautiful edges.
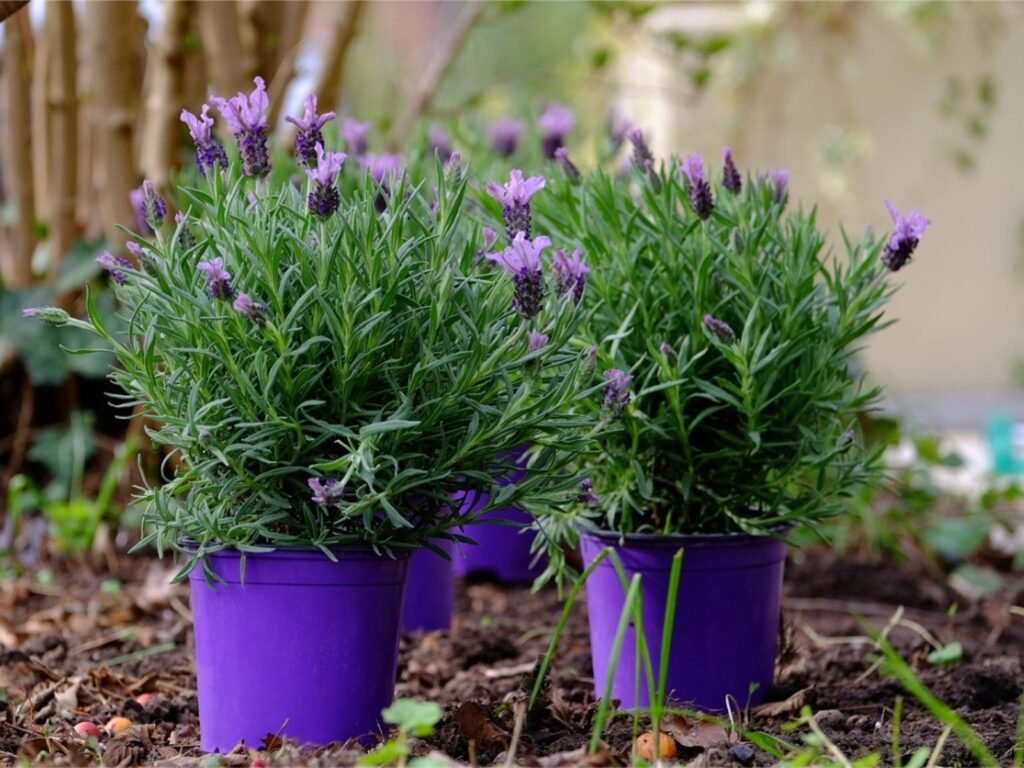
- Pots and balconies: Compact lavender varieties thrive in containers.
- Herb gardens: Combine with rosemary, thyme, or sage for a fragrant herb corner.
- Dried bouquets and crafts: Rooted lavender can be harvested for decorations or essential oils.
💡 Secret: Lavender’s versatility makes it both a practical herb and a stunning ornamental plant.
🌱 Final Thoughts
Rooting lavender quickly and easily is a rewarding gardening activity that saves money, multiplies plants, and ensures a continuous supply of fragrant blooms. By following these steps—choosing healthy cuttings, preparing the right medium, creating optimal rooting conditions, and caring for young plants—you can grow robust lavender plants that thrive for years.
Whether for your garden, balcony, or indoor decor, lavender adds elegance, aroma, and practicality to any space. Start rooting today, and enjoy a flourishing collection of lavender plants that delight your senses and enhance your home.