Onions are a staple in kitchens around the world, adding flavor, nutrition, and aroma to countless dishes. Growing onions at home is not only satisfying but also ensures fresh, chemical-free produce. While onions are often seen as simple vegetables, achieving big, healthy, and flavorful bulbs requires attention to soil, water, sunlight, and timing.
This guide provides a step-by-step roadmap for cultivating onions successfully at home, including planting techniques, care tips, pest management, and harvesting strategies to maximize yield and quality.
Step 1: Choosing the Right Onion Variety

The first step in growing onions successfully is selecting the right variety for your climate, soil, and culinary preferences.
Common Onion Types
- Short-day onions
- Ideal for warmer climates.
- Begin forming bulbs when daylight is 10–12 hours.
- Examples: Texas Sweet, White Bermuda.
- Long-day onions
- Suitable for cooler climates.
- Start bulbing when daylight exceeds 14–16 hours.
- Examples: Walla Walla, Red Baron.
- Intermediate-day onions
- Adaptable to most climates.
- Bulb formation starts at 12–14 hours of daylight.
Tips
- Choose varieties based on your region’s day length and growing season.
- Consider whether you prefer red, yellow, or white onions for flavor and storage needs.
Step 2: Preparing the Soil
Onions thrive in loose, well-drained, fertile soil.
Soil Requirements
- Texture: Sandy loam or loamy soil is best.
- pH: Slightly acidic to neutral (6.0–7.0).
- Fertility: Rich in organic matter; add compost or well-rotted manure.
Soil Preparation Steps
- Clear weeds and debris from the planting area.
- Loosen soil to a depth of 8–12 inches.
- Mix in organic matter and a balanced fertilizer.
- Create raised beds or rows for better drainage.
Tip: Good drainage prevents bulb rot and encourages healthy growth.
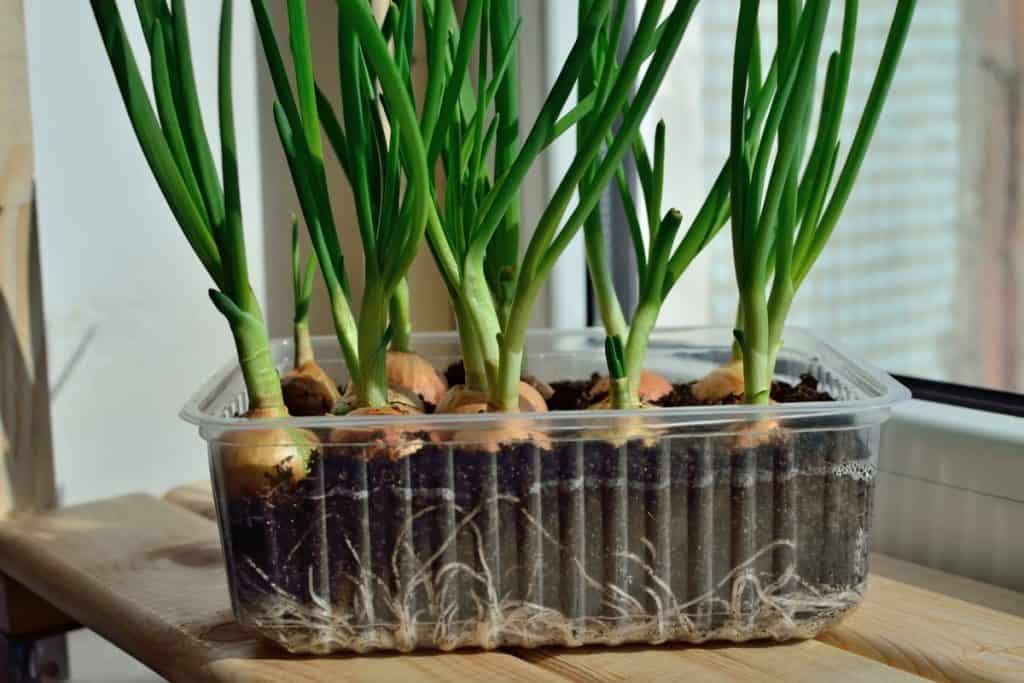
Step 3: Choosing Onion Planting Material
Onions can be grown from seeds, sets, or transplants.
Options
- Seeds
- Take longer to mature but offer a wider variety of flavors and colors.
- Start indoors 8–10 weeks before the last frost.
- Onion Sets
- Small bulbs planted directly in soil.
- Quick to mature, ideal for beginners.
- Transplants
- Seedlings started in trays or pots and then transplanted outdoors.
- Reliable and easy to handle.
Tip:
Choose disease-free seeds or sets for best results.
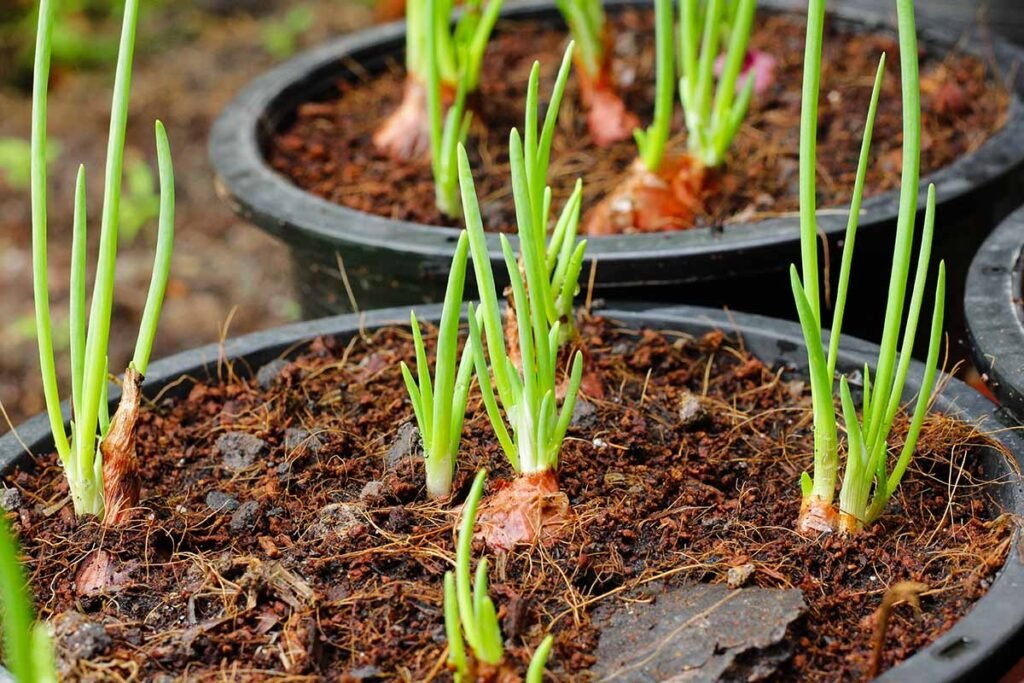
Step 4: Planting Onions
Planting method depends on the type of onion material you use.
From Seeds
- Sow ¼ inch deep in rows spaced 12–18 inches apart.
- Thin seedlings to 4–6 inches apart once established.
From Sets
- Plant 1–2 inches deep with the pointed end facing up.
- Space 4–6 inches apart in rows 12–18 inches apart.
From Transplants
- Space seedlings 4–6 inches apart.
- Water thoroughly after transplanting to settle soil around roots.
Tip: Avoid planting too deep, as onions may struggle to form bulbs.
Step 5: Watering and Mulching

Consistent moisture is crucial for onion growth, but overwatering can cause rot.
Watering Guidelines
- Keep soil evenly moist, especially during bulb formation.
- Water early in the day to reduce fungal disease risk.
- Avoid overhead watering; drip irrigation works best.
Mulching
- Apply straw, leaves, or grass clippings around plants.
- Benefits: retains moisture, suppresses weeds, and regulates soil temperature.
Tip: Remove mulch as bulbs near harvest to allow soil to dry and prevent disease.
Step 6: Fertilizing Onions
Onions are nutrient-hungry plants that require proper fertilization.
Fertilizer Recommendations
- Use a balanced fertilizer at planting (10-10-10 NPK).
- Side-dress with nitrogen-rich fertilizer when plants reach 6 inches tall.
- Reduce nitrogen once bulbs begin forming to encourage size and storage quality.
Tip:
Avoid excessive nitrogen during bulbing, as it promotes leafy growth over bulb development.
Step 7: Supporting Growth and Preventing Pests
Onions are relatively easy to grow, but pests and diseases can affect yield and quality.
Common Pests
- Onion thrips
- Aphids
- Nematodes
Organic Control Measures
- Introduce beneficial insects like ladybugs.
- Spray neem oil or insecticidal soap when needed.
- Keep the area weed-free to prevent pest infestations.
Common Diseases
- Downy mildew
- Onion smut
- Fusarium basal rot
Prevention Tips
- Rotate crops each year to reduce soil-borne pathogens.
- Ensure good spacing for airflow and light.
- Avoid wetting leaves during watering.
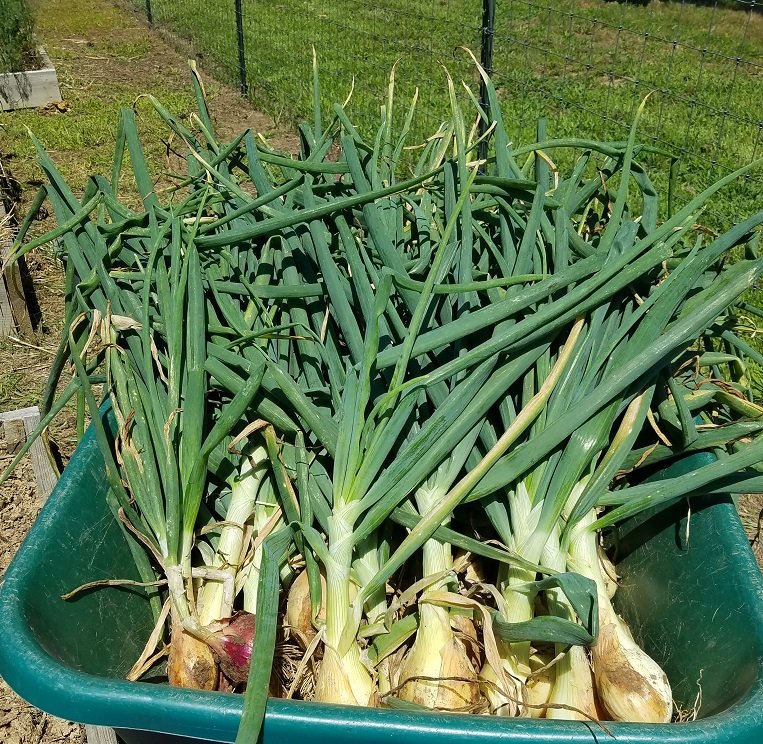
Step 8: Harvesting Onions
Timing is crucial to harvest onions at peak flavor and storage potential.
Signs of Maturity
- Tops (green shoots) start yellowing and falling over.
- Bulbs feel firm when gently pressed.
Harvesting Steps
- Loosen soil carefully with a fork.
- Pull bulbs gently and shake off excess soil.
- Cure onions by drying in a well-ventilated, shaded area for 2–3 weeks.
Tip:
Proper curing improves storage life and sweetness.
Step 9: Storing Onions
Once harvested, onions should be stored properly to maintain freshness.
Storage Guidelines
- Keep cured onions in a cool, dry, and dark place.
- Store in mesh bags, crates, or baskets with good airflow.
- Avoid storing with potatoes, as they release moisture that can cause rot.
Tip:
Properly cured and stored onions can last for several months.
Step 10: Companion Planting for Onions
Onions benefit from certain companions and can also protect nearby crops.
Good Companions
- Carrots: repel pests like carrot flies
- Lettuce: onions deter aphids
- Beets and cabbage: thrive alongside onions
Plants to Avoid
- Beans and peas: compete for nutrients
- Sage: inhibits onion growth
Step 11: Maximizing Bulb Size and Flavor
- Ensure consistent moisture and adequate sunlight.
- Avoid overcrowding to allow bulbs to expand fully.
- Reduce nitrogen during bulbing to improve sweetness.
- Use organic amendments like compost or bone meal for better nutrition.
Step 12: Benefits of Growing Onions at Home
- Freshness: Enjoy onions free of pesticides and chemicals.
- Cost Savings: Homegrown onions reduce grocery bills.
- Flavor: Homegrown bulbs are often sweeter and more robust.
- Therapeutic Gardening: Caring for onions reduces stress and promotes outdoor activity.
- Sustainable: Growing your own food reduces reliance on packaged produce.
Step 13: Tips for Year-Round Onion Gardening
- Start seeds indoors during colder months.
- Use containers or raised beds for flexible planting.
- Rotate onion varieties for continuous harvest.
- Monitor pests and diseases consistently.
- Save seeds or sets from high-performing plants for next season.
Conclusion: Achieve Big, Flavorful Onions at Home
Growing onions at home is rewarding, practical, and relatively simple when you follow the right techniques. By selecting the appropriate variety, preparing fertile soil, providing consistent water and nutrients, managing pests, and harvesting at the right time, you can enjoy healthy, flavorful onions straight from your garden.
With patience and attention to detail, home gardeners can produce onions that rival those from the market in size, flavor, and quality. Whether for culinary use or long-term storage, cultivating onions at home ensures fresh, sustainable, and cost-effective produce year after year.