Peas are one of the most versatile and nutrient-rich vegetables you can grow at home. Packed with protein, fiber, vitamins, and antioxidants, peas are a staple in many cuisines around the world. Whether you enjoy them fresh in salads, cooked in soups, or stir-fried in curries, nothing compares to the taste and nutritional benefits of homegrown peas. The exciting news is that you can grow pea plants easily at home in just 5 days, thanks to simple methods for germination and early growth. This comprehensive guide will walk you step by step from seed selection to harvesting, ensuring a healthy and productive pea plant.
🌱 Why Grow Peas at Home?
Homegrown peas offer numerous benefits:
- Fresh and organic: Free from pesticides and harmful chemicals
- Rapid germination: See sprouts and early leaves in just a few days
- Space-efficient: Ideal for pots, balconies, terraces, or small gardens
- Cost-effective: Save money compared to buying fresh or frozen peas
- Educational and rewarding: Great for kids and beginner gardeners
Even if you have limited outdoor space, peas are perfect for quick and easy cultivation.
🌱 Understanding the Pea Plant
Botanical Name: Pisum sativum
Plant Type: Annual legume
Growth Habit: Climbing or bushy vine
Sunlight Requirement: Full sun to partial shade
Soil Preference: Well-draining, fertile, slightly acidic to neutral (pH 6–7.5)
Pea plants are cool-season crops, thriving in moderate temperatures. They are nitrogen-fixing, which improves soil fertility, making them ideal companions for other plants.
🌱 Step 1: Choosing the Right Seeds
Choosing healthy, high-quality seeds is critical for fast germination and robust plants.
Tips for Seed Selection:
- Use certified organic pea seeds for high germination rates
- Avoid old or damaged seeds, which may sprout slowly
- Choose varieties suited for your climate (snap peas, garden peas, or snow peas)
Pre-soaking for Rapid Germination:
- Soak seeds in lukewarm water for 8–12 hours
- This softens the seed coat, allowing water to penetrate faster
- Pre-soaked seeds can sprout within 3–5 days, making early growth visible
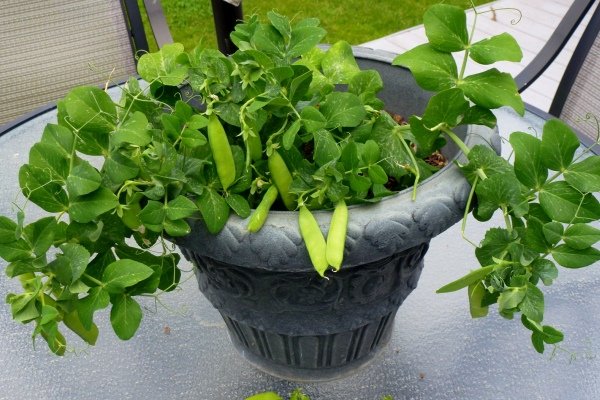
🌱 Step 2: Preparing the Soil and Containers
Peas grow well in pots, seed trays, or garden beds. Proper soil preparation ensures strong roots and fast growth.
Container Options:
- Shallow trays for sprouting seeds
- Pots 6–8 inches deep
- Raised garden beds with good drainage
Soil Mix:
- 40% garden soil
- 30% compost or organic manure
- 20% cocopeat or vermicompost
- 10% sand for drainage
The soil must be loose and well-draining to prevent root rot and encourage strong root development.
🌱 Step 3: Sowing Pea Seeds
Sowing pea seeds is simple and can be done in both containers and garden beds.
Steps for Fast Germination:
- Fill the container with prepared soil.
- Plant pre-soaked seeds 1–2 cm deep, spacing them 2–3 inches apart.
- Cover lightly with soil and water gently.
- Keep the container in a warm, sunny location.
Germination Timeline:
- With pre-soaking, seeds may sprout in just 3–5 days
- Maintain consistent moisture and avoid waterlogging
Once seedlings emerge, they can be thinned to 4–6 inches apart for bush varieties or trained along a trellis for climbing types.
🌱 Step 4: Watering Your Pea Plants
Proper watering is key to rapid growth.
Watering Guidelines:
- Keep soil evenly moist during early growth
- Water gently to avoid washing away seeds or damaging young sprouts
- Reduce watering slightly as plants mature, allowing soil to dry between waterings
Consistent moisture helps strong stem development and promotes early flowering.
🌱 Step 5: Sunlight and Temperature Requirements
Peas thrive in cool, sunny conditions:
- Sunlight: 5–6 hours daily for young plants
- Optimal temperature: 15–20°C for germination and growth
- Protect seedlings from frost or extremely hot conditions
For indoor growth, a bright windowsill or balcony is ideal. Outdoors, choose a spot that receives morning sunlight.
🌱 Step 6: Fertilizing Pea Plants
Peas are light feeders, but a little organic fertilizer can boost growth.
Organic Fertilizer Options:
- Vermicompost or cow dung at sowing
- Liquid compost tea every 10–15 days
Optional Mineral Fertilizers:
- Low-nitrogen fertilizers encourage flowering and pod development
- Excess nitrogen promotes leafy growth at the expense of peas
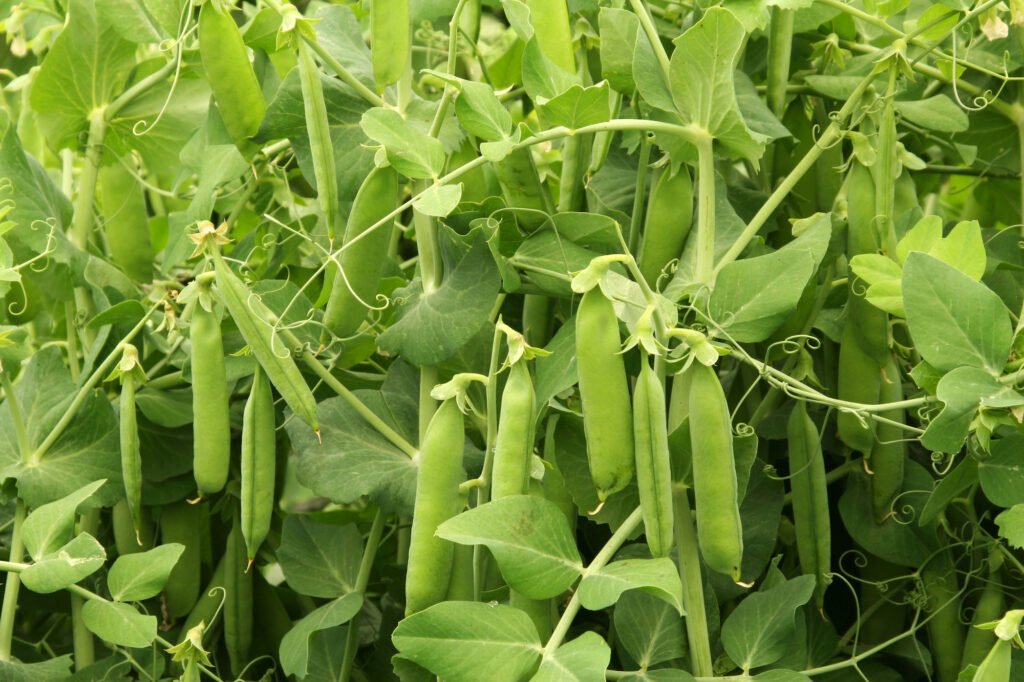
🌱 Step 7: Supporting Climbing Pea Varieties
Many pea varieties are climbers and need support to grow upright:
- Use bamboo sticks, string trellises, or mesh nets
- Tie seedlings gently to the support
- Encourage vines to climb by training tendrils
Supporting climbing varieties ensures better air circulation, sunlight exposure, and higher yields.
🌱 Step 8: Flowering and Pollination
Peas produce small, delicate flowers before forming pods.
- Flowers usually appear 3–4 weeks after sowing
- Peas are self-pollinating, so insects are not strictly necessary
- Protect flowers from pests such as aphids and ants
Early flowering leads to a faster harvest, making peas ideal for rapid cultivation.
🌱 Step 9: Pruning and Maintenance
Though low-maintenance, a few simple practices improve growth and yield:
- Remove yellow or damaged leaves
- Thin seedlings if overcrowded
- Mulch around the base to retain soil moisture and suppress weeds
Proper maintenance ensures healthy plants and continuous pod production.
🌱 Step 10: Pest and Disease Management
Peas are hardy but can encounter occasional pests and diseases.
Common Pests:
- Aphids
- Thrips
- Cutworms
Organic Solutions:
- Neem oil spray every 10–15 days
- Garlic or chili water sprays
- Remove affected leaves by hand
Common Diseases:
- Powdery mildew: Ensure proper spacing and airflow
- Root rot: Avoid waterlogged soil
Healthy plants with good sunlight and care rarely face serious problems.
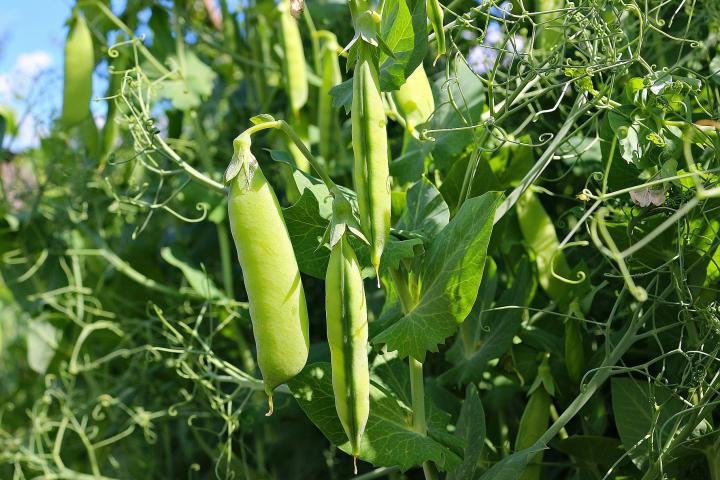
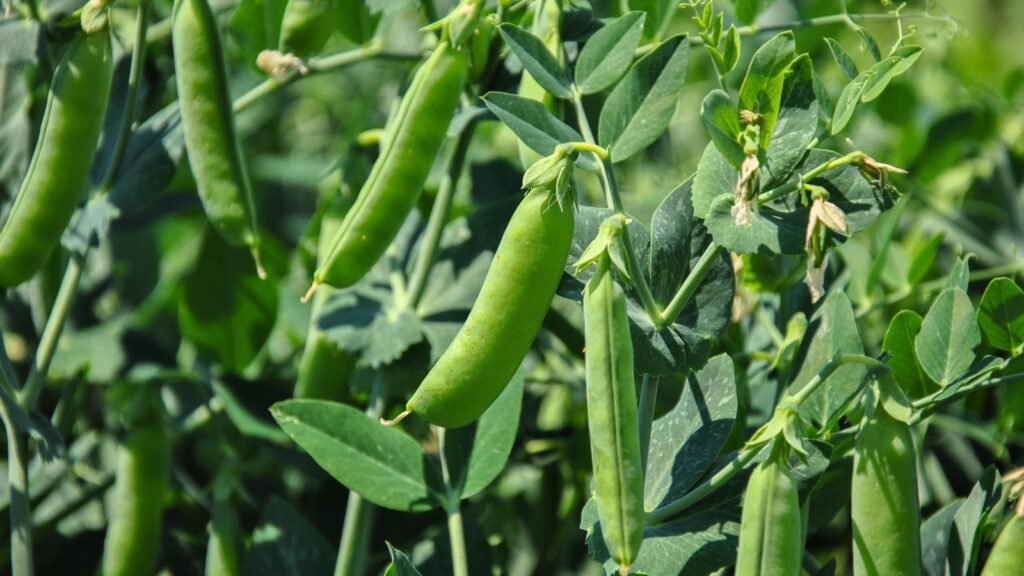
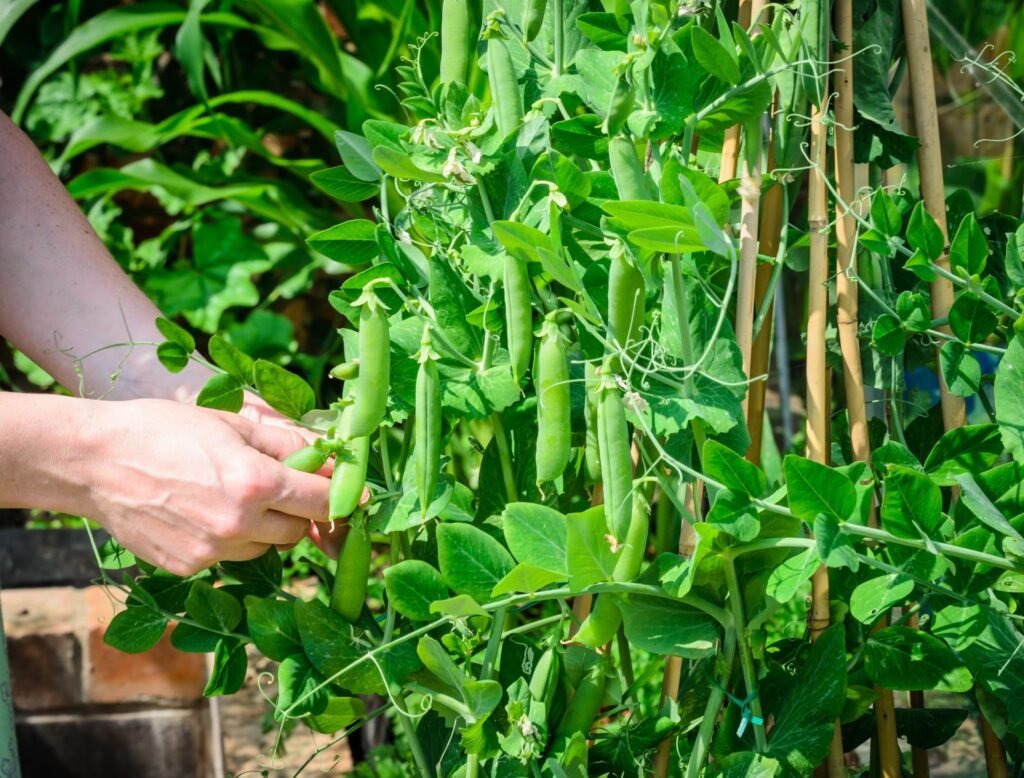
🌱 Step 11: Harvesting Peas
Peas are typically ready to harvest 3–5 weeks after flowering, depending on the variety.
Harvesting Tips:
- Pick pods when they are plump and green
- Harvest regularly to encourage continuous pod formation
- Use scissors or gently snap pods to avoid damaging vines
Freshly harvested peas taste sweeter and retain more nutrients than store-bought alternatives.
🌱 Step 12: Tips for Continuous Production
To enjoy peas continuously at home:
- Sow seeds in staggered batches every 2–3 weeks
- Rotate containers or garden plots to maintain soil fertility
- Fertilize lightly with compost during the growing season
- Harvest regularly to prevent pods from becoming overripe
With these practices, you can maintain a steady supply of fresh peas throughout the growing season.
🌱 Why This Method Works Well at Home
This method is perfect for home gardening because it:
✔ Works in pots, balconies, terraces, or garden beds
✔ Produces sprouts in just 5 days and pods in a few weeks
✔ Uses organic, easily available fertilizers
✔ Requires minimal maintenance and space
✔ Is beginner-friendly and cost-effective
Even small-space gardeners can enjoy lush, productive pea plants using this method.
🌱 Final Thoughts
Growing pea plants at home is simple, fast, and highly rewarding. With proper seed selection, soil preparation, pre-soaking, watering, and support, you can see sprouts in just 5 days and enjoy fresh, nutritious peas within weeks.
Whether you are a beginner gardener, a busy urban dweller, or someone who loves fresh vegetables, this method ensures homegrown peas that are healthy, flavorful, and pesticide-free. Start today and transform your balcony, terrace, or garden into a thriving pea patch full of vibrant green vines and plump, tasty pods!