Potatoes are one of the most widely grown and consumed vegetables worldwide, forming the backbone of countless cuisines. While traditionally grown in fields, home gardening enthusiasts can now take advantage of a new technique for growing potatoes that boosts yield, improves tuber size, and speeds up growth. This method is ideal for home gardens, terrace planters, or backyard spaces. In this 1,200-word guide, we’ll walk you step by step from seed selection to harvesting, ensuring a healthy, abundant potato harvest using this innovative approach.
🥔 Why Grow Potatoes at Home?
Growing potatoes at home offers multiple benefits:
- Fresh, chemical-free produce for your family
- Larger and healthier tubers with improved flavor
- Space-efficient methods for terraces, containers, or small gardens
- Cost-effective: Produce more potatoes than you buy from the market
- Fun and rewarding: Perfect for beginner gardeners and food enthusiasts
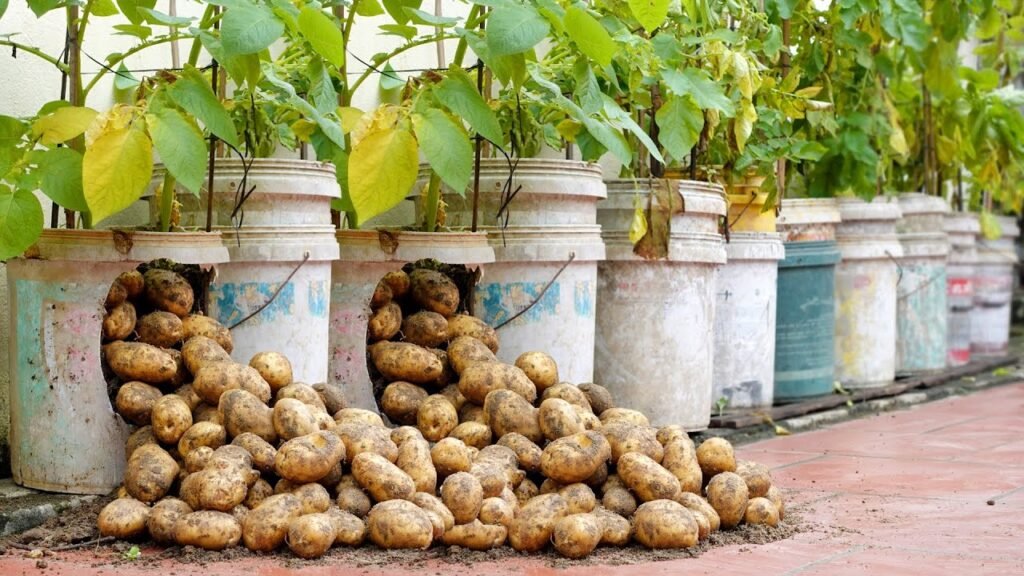
The new technique allows you to maximize potato yields, even in limited spaces, without relying on traditional field methods.
🥔 Understanding the Potato Plant

Botanical Name: Solanum tuberosum
Plant Type: Tuber-forming annual
Growth Habit: Bushy plant with underground tubers
Sunlight Requirement: Full sun (6–8 hours daily)
Soil Preference: Loose, fertile, well-draining soil with pH 5.5–7
Potatoes grow best in cool to moderate climates, thriving in loose soil that allows tubers to expand. Proper care ensures high-quality, uniform potatoes.
🥔 Step 1: Choosing the Right Seed Potatoes
Selecting healthy seed potatoes is essential for success:
Tips for Seed Selection:
- Use certified disease-free seed potatoes
- Choose medium-sized tubers with visible eyes for sprouting
- Avoid damaged, bruised, or rotting tubers
For faster growth, consider pre-sprouting seed potatoes—this encourages early sprout development and quicker harvests.
🥔 Step 2: Pre-sprouting Potatoes (Chitting Method)
The new technique emphasizes pre-sprouting or “chitting” potatoes before planting.
Steps:
- Place seed potatoes in a shallow tray in a cool, bright location
- Keep them eyes-up and allow short green sprouts (1–2 cm) to develop
- Sprouting usually takes 7–14 days
- Pre-sprouted potatoes produce earlier and larger tubers
This step ensures that plants start actively growing immediately after planting, reducing the overall time to harvest.
🥔 Step 3: Preparing Soil and Containers
Potatoes require loose, well-draining soil to prevent rot and allow tubers to expand.
Soil Preparation:
- Mix garden soil with compost or organic manure (30–40%)
- Add sand or cocopeat (10–20%) for drainage and aeration
- Ensure soil is nutrient-rich for healthy growth
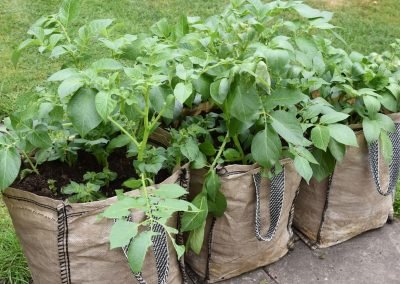
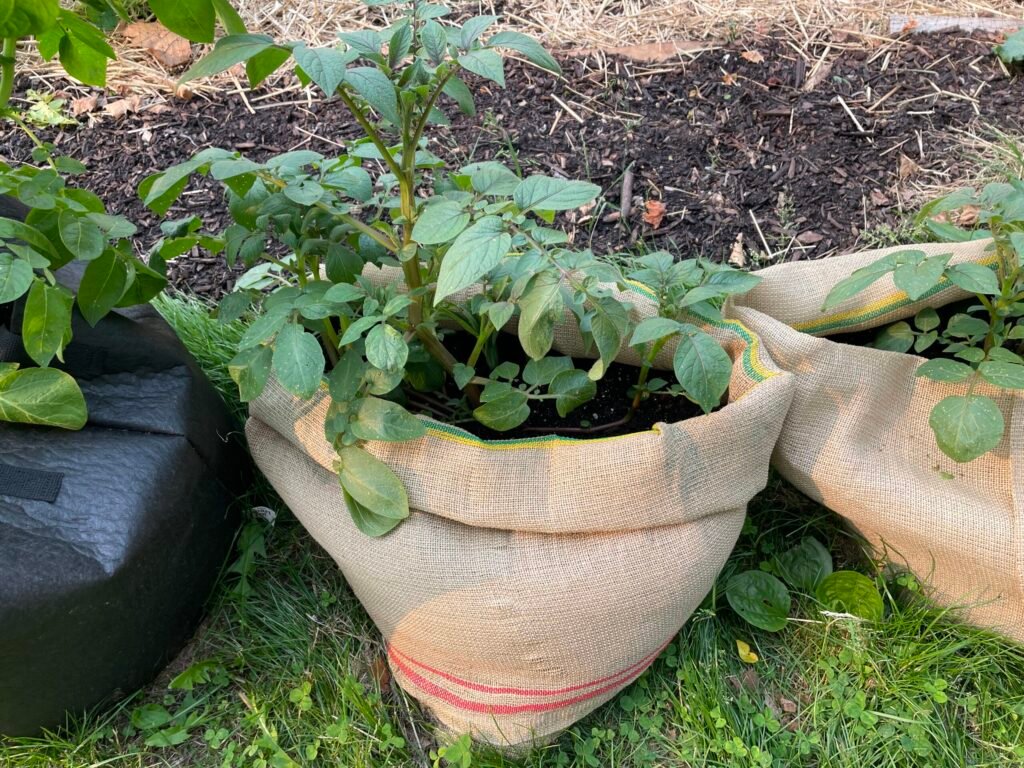
Container Gardening:
- Large pots or grow bags 12–18 inches deep
- Raised beds are ideal for terrace or backyard planting
This method ensures potatoes develop well-shaped, large tubers without soil compaction.
🥔 Step 4: Planting Pre-sprouted Potatoes
The new technique recommends shallow planting with hilling for maximum tuber growth:
Steps:
- Dig holes 4–6 inches deep in soil
- Place pre-sprouted potatoes with eyes facing upward
- Cover lightly with 3–4 inches of soil
- Space plants 12–15 inches apart to allow tuber expansion
As the plants grow, additional soil is added around the stems to create mounds—a process called “hilling”, which encourages larger tuber formation.
🥔 Step 5: Watering Potato Plants
Proper watering is essential for tuber development:
Watering Guidelines:
- Keep soil consistently moist, not waterlogged
- Water deeply once or twice a week, depending on rainfall
- Avoid overwatering after tubers start forming to prevent rot
Consistent moisture ensures healthy foliage and robust tuber growth.
🥔 Step 6: Sunlight and Temperature Requirements
Potatoes require cool, sunny conditions:
- Sunlight: 6–8 hours daily for strong foliage
- Optimal temperature: 15–22°C for sprouting and tuber growth
- Protect plants from extreme heat, which can reduce yield
Containers and raised beds allow better temperature control and sunlight exposure.
🥔 Step 7: Fertilizing Potato Plants
Fertilization ensures rapid leaf growth and nutrient-rich tubers.
Organic Fertilizer Options:
- Vermicompost or cow dung at planting
- Liquid compost tea every 10–15 days
Mineral Fertilizers:
- Nitrogen-rich fertilizers for early leaf growth
- Phosphorus and potassium for tuber development
- Avoid excessive nitrogen after tubers start forming
🥔 Step 8: Hilling – The Key to Bigger Potatoes
Hilling is a core part of this new technique.
Steps for Hilling:
- Once plants reach 6–8 inches tall, mound soil around the stem
- Repeat hilling every 2–3 weeks as plants grow
- Hilling prevents sunlight from reaching tubers (avoiding greening)
- Encourages more and larger tubers per plant
Hilling is critical for maximizing yield and tuber size in home gardens.
🥔 Step 9: Pest and Disease Management
Potatoes are hardy but can face common pests and diseases:
Pests:
- Potato beetles
- Aphids
- Cutworms
Organic Solutions:
- Neem oil or garlic spray every 10–15 days
- Remove affected leaves by hand
- Crop rotation to prevent soil-borne diseases
Diseases:
- Late blight: Prevent with good air circulation and hilling
- Tubers rot: Avoid overwatering and maintain proper drainage
Proper care ensures maximum tuber production and healthy plants.
🥔 Step 10: Harvesting Potatoes
Potatoes are usually ready 10–14 weeks after planting, depending on the variety.
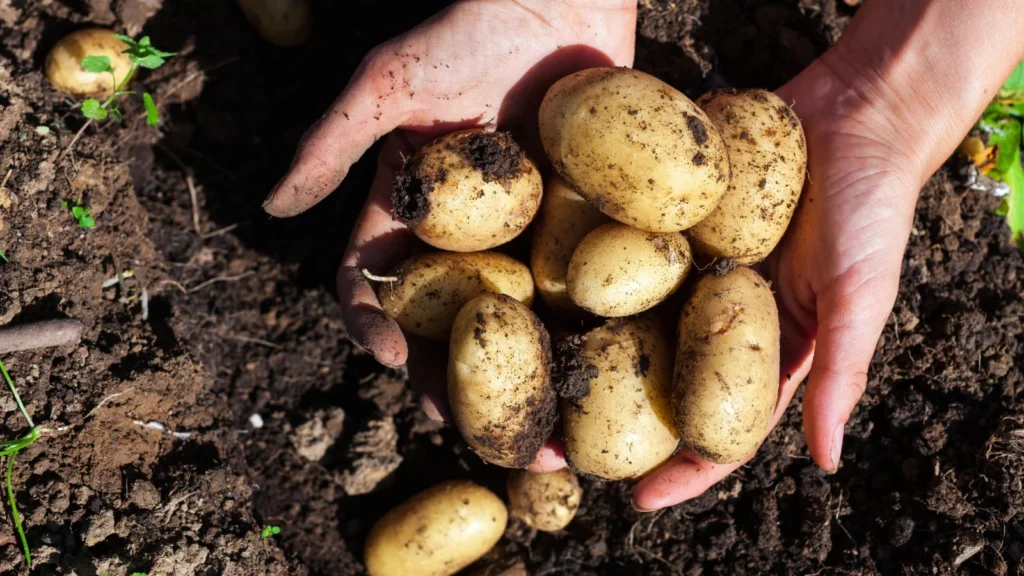
Harvesting Steps:
- Gently dig around the plant with a fork
- Lift the tubers carefully to avoid bruising
- Leave them in the sun for 1–2 days to cure
- Store in a cool, dry, ventilated space
The new technique results in bigger, uniform, and healthier potatoes compared to traditional planting.
🥔 Step 11: Tips for Continuous Production
For a steady potato supply:
- Stagger planting every 2–3 weeks
- Use containers or raised beds for rotation
- Fertilize lightly after each crop
- Mulch to retain soil fertility and moisture
This ensures fresh potatoes year-round, even in limited spaces.
🥔 Why This New Technique Works So Well
This method combines pre-sprouting, container/raised bed cultivation, and hilling to:
✔ Accelerate sprouting and early growth
✔ Promote uniform and larger tubers
✔ Protect tubers from sunlight and disease
✔ Maximize yields in small spaces
✔ Reduce labor and care compared to traditional methods
Home gardeners can now enjoy high-yielding, nutrient-rich potatoes without large fields.
🥔 Final Thoughts
Potato cultivation at home has never been easier or more productive. With this new technique, you can grow potatoes that are larger, healthier, and faster-growing than ever before. By combining pre-sprouting, proper soil preparation, hilling, organic fertilization, and careful watering, home gardeners can enjoy abundant potato harvests year-round.
Start today, and transform your garden, terrace, or balcony into a thriving potato patch full of delicious, homegrown tubers!